Rootly
Users with administrative privileges can find this integration below the list of personal alert integrations on the Alerts & Integrations tab of the Project Settings page.
1. Create a generic webhook alert source in Rootly.
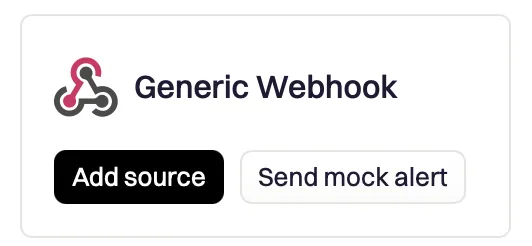
Section titled “1. Create a generic webhook alert source in Rootly.”Navigate to the Alert Sources page in your Rootly account. Locate the Generic Webhook alert source and click Add Source.
Set the Alert Source Name to “Honeybadger”.
2. Locate the authorization header - credentials
Section titled “2. Locate the authorization header - credentials”Rootly will generate a webhook token. Copy this value.

3. In Honeybadger, locate the Rootly integration.
Section titled “3. In Honeybadger, locate the Rootly integration.”In the project settings, click on the Integrations tab where you’ll find the Rootly integration.

4. Fill in the required fields and save.
Section titled “4. Fill in the required fields and save.”Fill in the Webhook authorization token field with the generated token you copied from step 2. You may optionally specify a target type and target ID. Save the integration.
5. Test the integration.
Section titled “5. Test the integration.”Click on the “Test this integration” button to send a test notification to your Rootly account. This will send a test payload to the Rootly webhook alert source.
6. Configure the Rootly alert source.
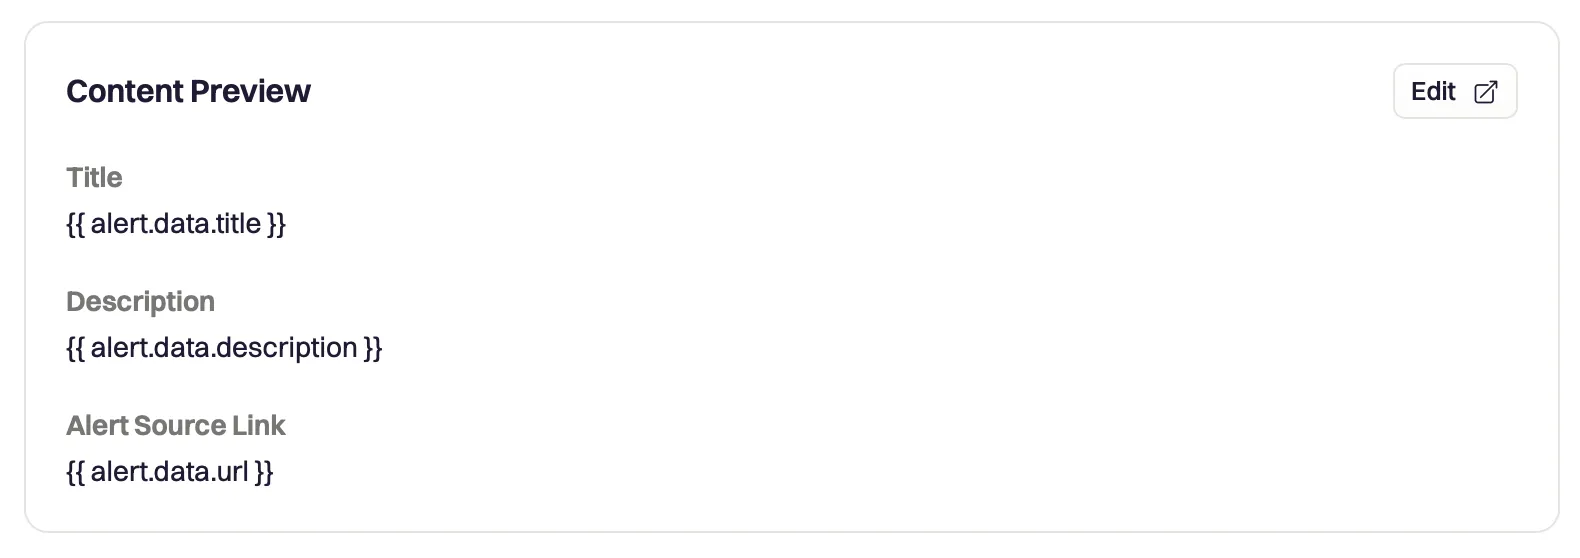
Section titled “6. Configure the Rootly alert source.”Now that Rootly has a sample payload, you can easily configure the alert. In your Rootly account, find the configuration settings for the Webhook alert source. Edit the Alert Content and set the following values:
- Alert Title:
{{ alert.data.title }} - Alert Description:
{{ alert.data.description }} - Link to Alert:
{{ alert.data.url }}