
GitHub
Users with administrative privileges can find this integration below the list of personal alert integrations on the Alerts & Integrations tab of the Project Settings page.
1. Select the GitHub integration
Section titled “1. Select the GitHub integration”
2. Authenticate
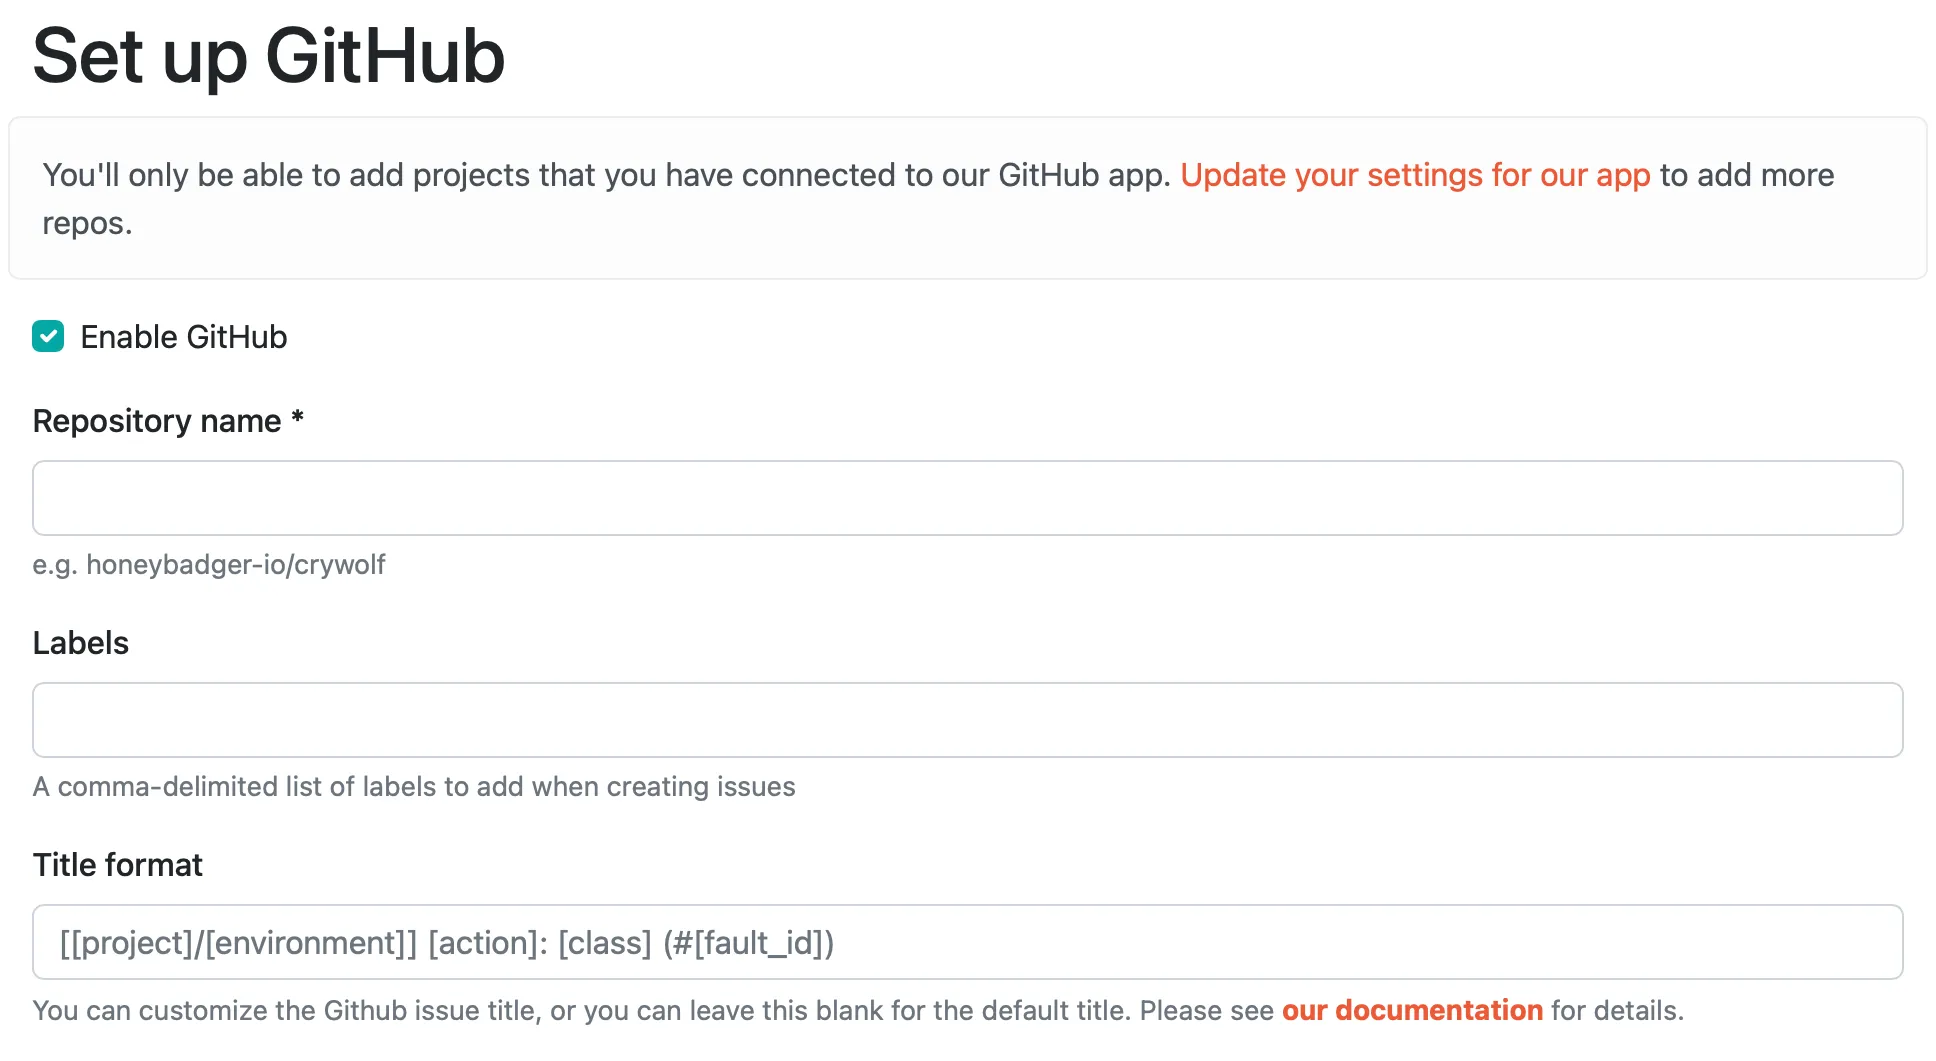
Section titled “2. Authenticate”If you haven’t already granted our GitHub app access to your account, you will be prompted to do so. After that is done, you’ll be prompted to install our GitHub app in your GitHub repositories. Once that’s done, you’ll be able to create a new GitHub integration.
3. Set the repository name
Section titled “3. Set the repository name”The repository name includes the account or organization name. For example, our gem is hosted at https://github.com/honeybadger-io/honeybadger-ruby, so we’d enter “honeybadger-io/ruby” for the repo name to connect to that repository.
4. Enter labels (optional)
Section titled “4. Enter labels (optional)”If you’d like us to label issues we create in GitHub, just enter a comma-separated list of tags here.
5. Set the issue type (optional)
Section titled “5. Set the issue type (optional)”If your organization uses issue types, enter the name of the type to give the issues we create, such as “Bug”. If the type doesn’t exist for the repository’s organization, we won’t create the issue.
6. Set issue fields (optional)
Section titled “6. Set issue fields (optional)”If your organization uses issue fields, we can fill them in on the issues we create. Enter one field per line, with the field name and value separated by a colon:
Priority: HighTeam: PlatformAreas: API, WebEstimate: 3Target date: 2026-12-31- Field names and select options aren’t case-sensitive.
- Separate multi-select options with commas.
- Enter numbers as plain numbers and dates as
YYYY-MM-DD.
We check your fields with GitHub when you save, and show an error if a field or option doesn’t exist in the repository or a value doesn’t fit the field’s type. If a field changes in GitHub later so that a value no longer fits, we won’t create the issue until you update the setting.
7. Title format (optional)
Section titled “7. Title format (optional)”Customize the issue title, if you want, with our handy custom formatters.
8. Send a detailed issue body (optional)
Section titled “8. Send a detailed issue body (optional)”By default, Honeybadger creates GitHub issues with a short backtrace excerpt and a link back to the fault in Honeybadger. Enable Send a detailed issue body to instead create issues with a full Markdown body that includes context, parameters, and the backtrace. Note that enabling this sends more potentially sensitive fault data to GitHub.
9. Save
Section titled “9. Save”That’s it! You can test the integration by clicking “Test”. Otherwise, just save it and you’re ready to go.