GitLab
Users with administrative privileges can find this integration below the list of personal alert integrations on the Alerts & Integrations tab of the Project Settings page.
1. Select the GitLab integration
Section titled “1. Select the GitLab integration”
2. Set the repository name
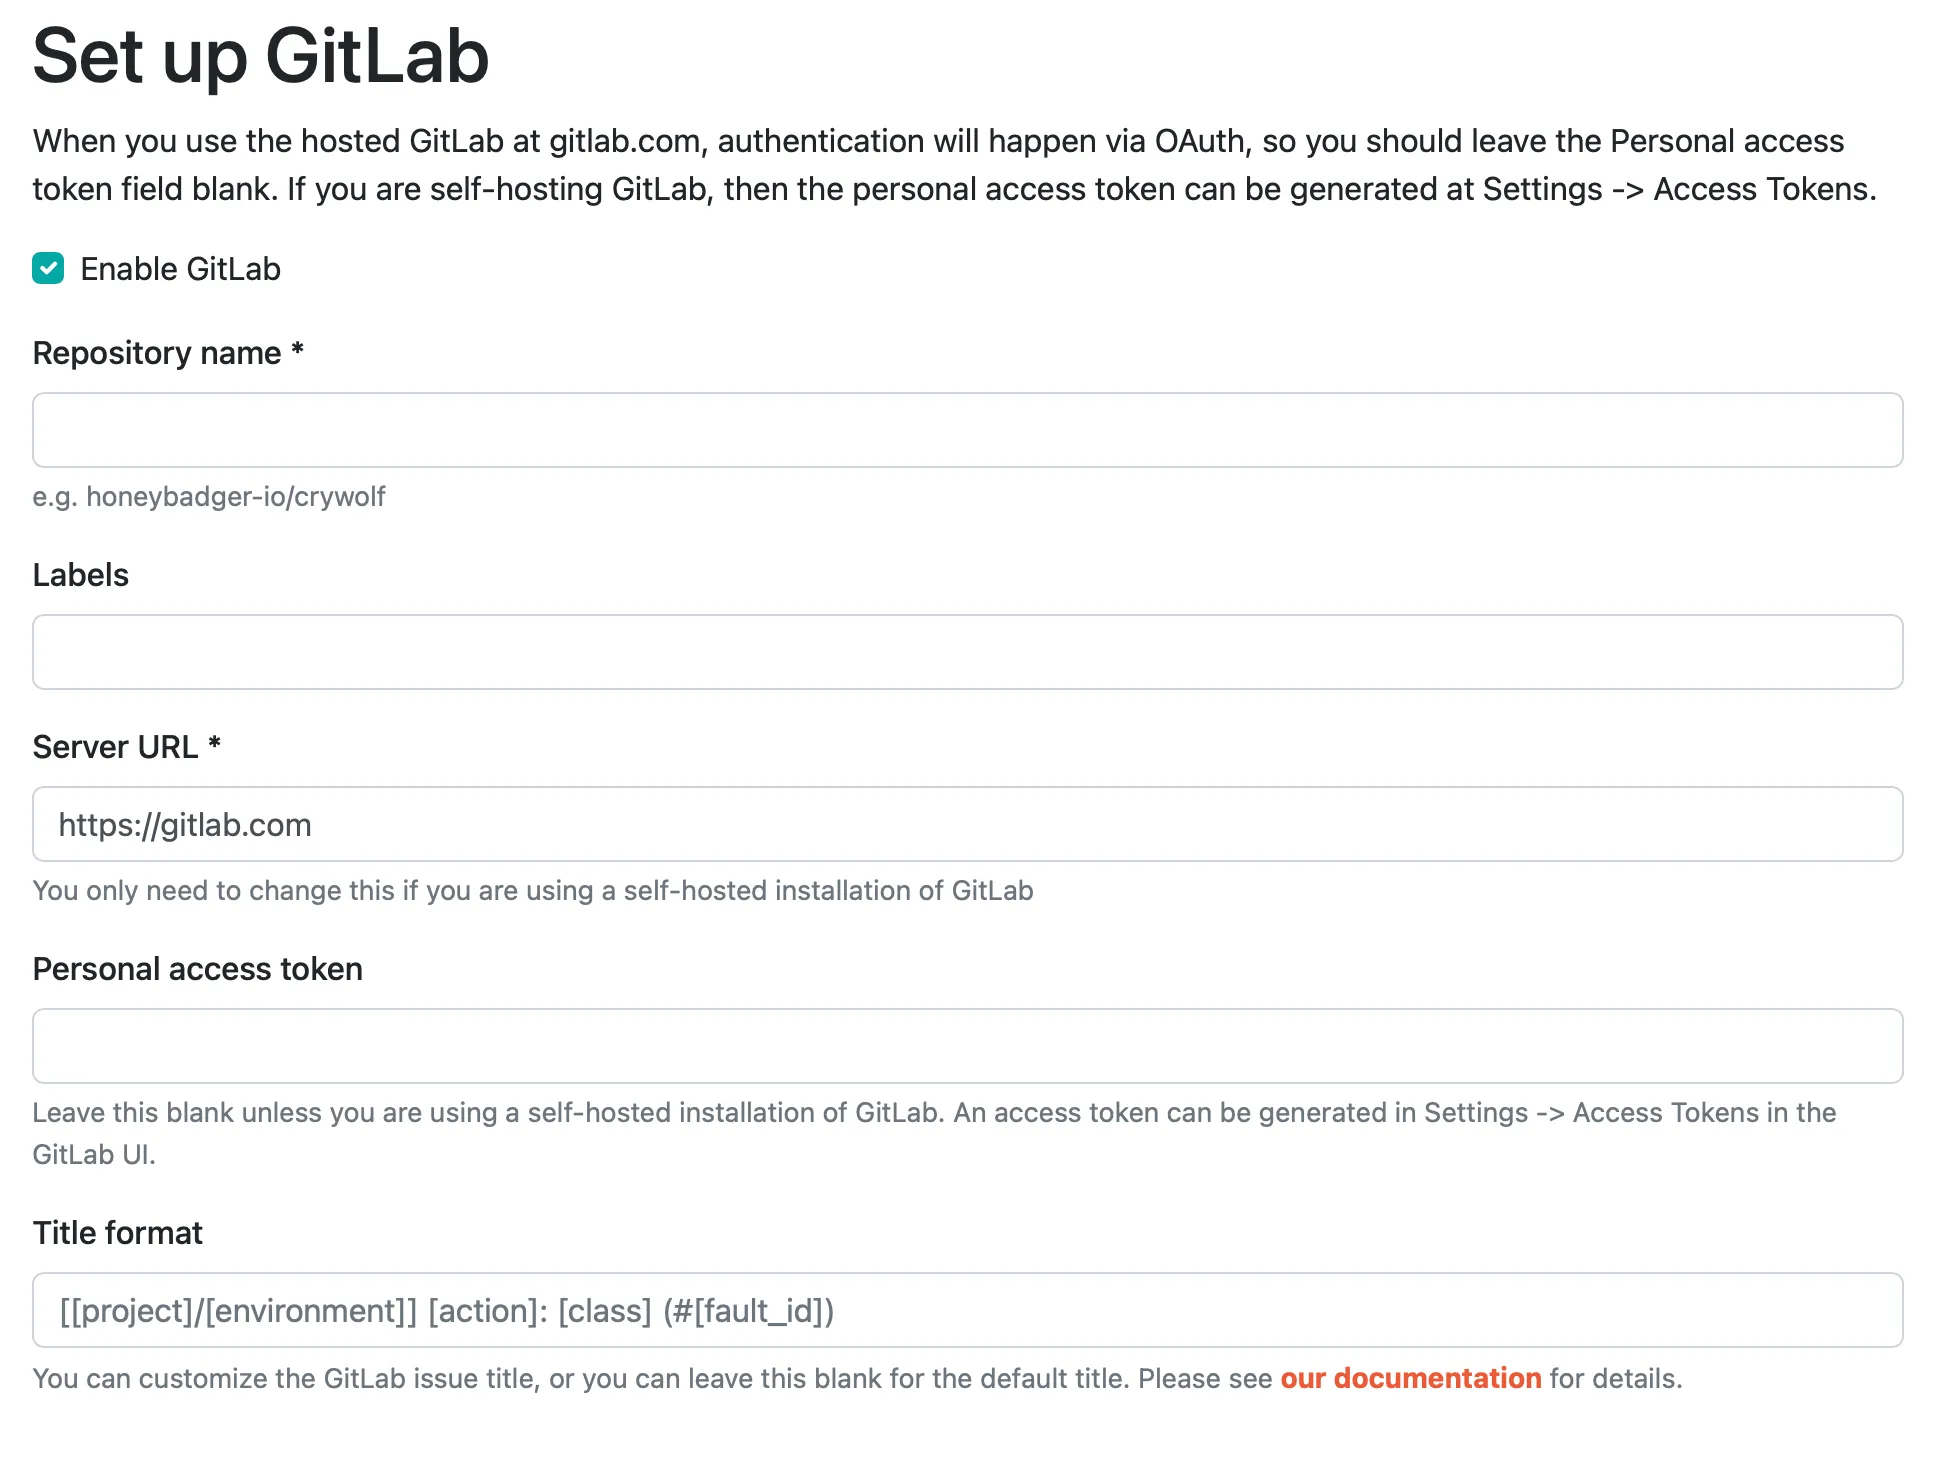
Section titled “2. Set the repository name”The repository name includes the account or organization name. For example, if your project is hosted at https://gitlab.com/honeybadger-io/app, you’d enter “honeybadger-io/app” for the repo name to connect to that repository.
3. Enter labels (optional)
Section titled “3. Enter labels (optional)”If you’d like us to label issues we create in GitLab, just enter a comma-separated list of tags here.
4. Enter server URL and personal access token (optional)
Section titled “4. Enter server URL and personal access token (optional)”Our default configuration assumes you are hosting your code at gitlab.com and that we’ll use OAuth to connect to your account for creating issues. If you are using a self-hosted version of GitLab, then enter the URL of the GitLab installation and enter a personal access token. We will use that personal access token (generated in the GitLab UI at Settings -> Access Tokens) rather than OAuth.
5. Send a detailed issue body (optional)
Section titled “5. Send a detailed issue body (optional)”By default, Honeybadger creates GitLab issues with a short backtrace excerpt and a link back to the fault in Honeybadger. Enable Send a detailed issue body to instead create issues with a full Markdown body that includes context, parameters, and the backtrace. Note that enabling this sends more potentially sensitive fault data to GitLab.
6. Save
Section titled “6. Save”That’s it! You’ll be redirected to GitLab to grant OAuth access (if you left the server URL unchanged), or back to the integrations list if you used a custom server URL and a personal access token. Either way, once you’re back at the integrations list, you can Edit your new GitLab integration and use the Test button to test creating an issue in your repository.