Status pages
Your Honeybadger account comes with customizable status pages. Give your users insights into the working state of your system by connecting uptime checks or providing updates during problems via incidents.
Here’s a live example of our Honeybadger status page.
Customizing your status page
Section titled “Customizing your status page”You can customize your status page with your company logo and favicon from Status Pages → Your Status Page → Edit. If you upload a dark logo variant, we’ll use that version with our built-in dark mode theme.
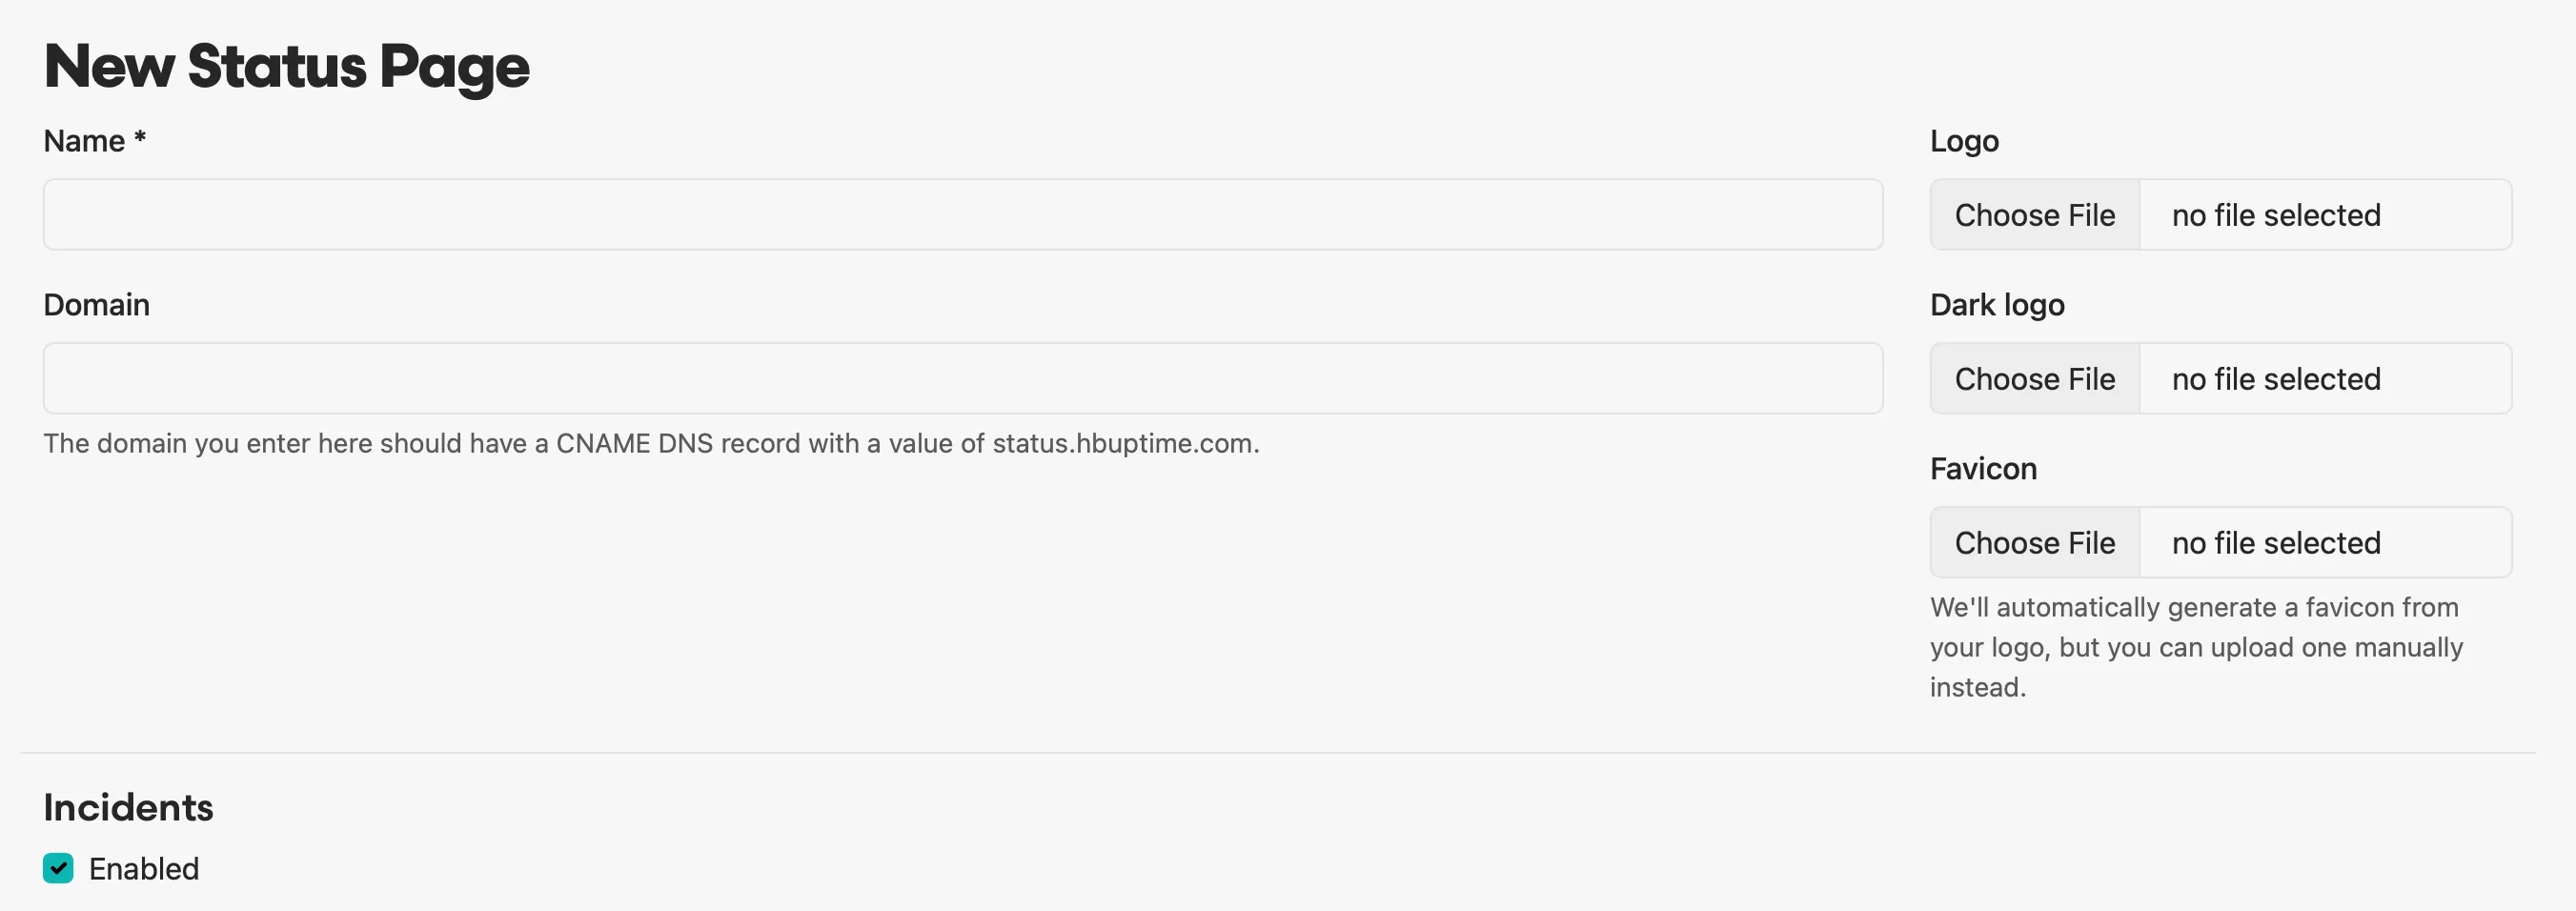
For more control over the look and feel of your status page, see the “Custom CSS” option under Customization at the bottom of the settings form.
Adding a custom domain
Section titled “Adding a custom domain”To add a custom domain, enter the domain (without the http(s)://) when editing your status page. To verify your domain, add a CNAME DNS record with a value of status.hbuptime.com. For example, if your domain is status.example.com, then you should add the following CNAME through your DNS provider (Google Domains, Amazon Route 53, GoDaddy, etc.):
| Record type | Label/Host field | Time To Live (TTL) | Destination/value |
|---|---|---|---|
| CNAME | status.example.com | default is fine (i.e. 3600) | status.hbuptime.com |
Once the record has been created, click the “Verify” button under your status page back in Honeybadger:

Now you can visit your domain in a browser. We automatically generate SSL certificates; it should be ready to go on the first visit, but in some cases you may need to refresh a few times. If you have trouble, don’t hesitate to get in touch.
Uptime checks
Section titled “Uptime checks”Connect any currently running uptime checks to your status page if you’d like to share your uptime status with the world. Status pages may include uptime checks across all of the projects in your account.
Connecting checks
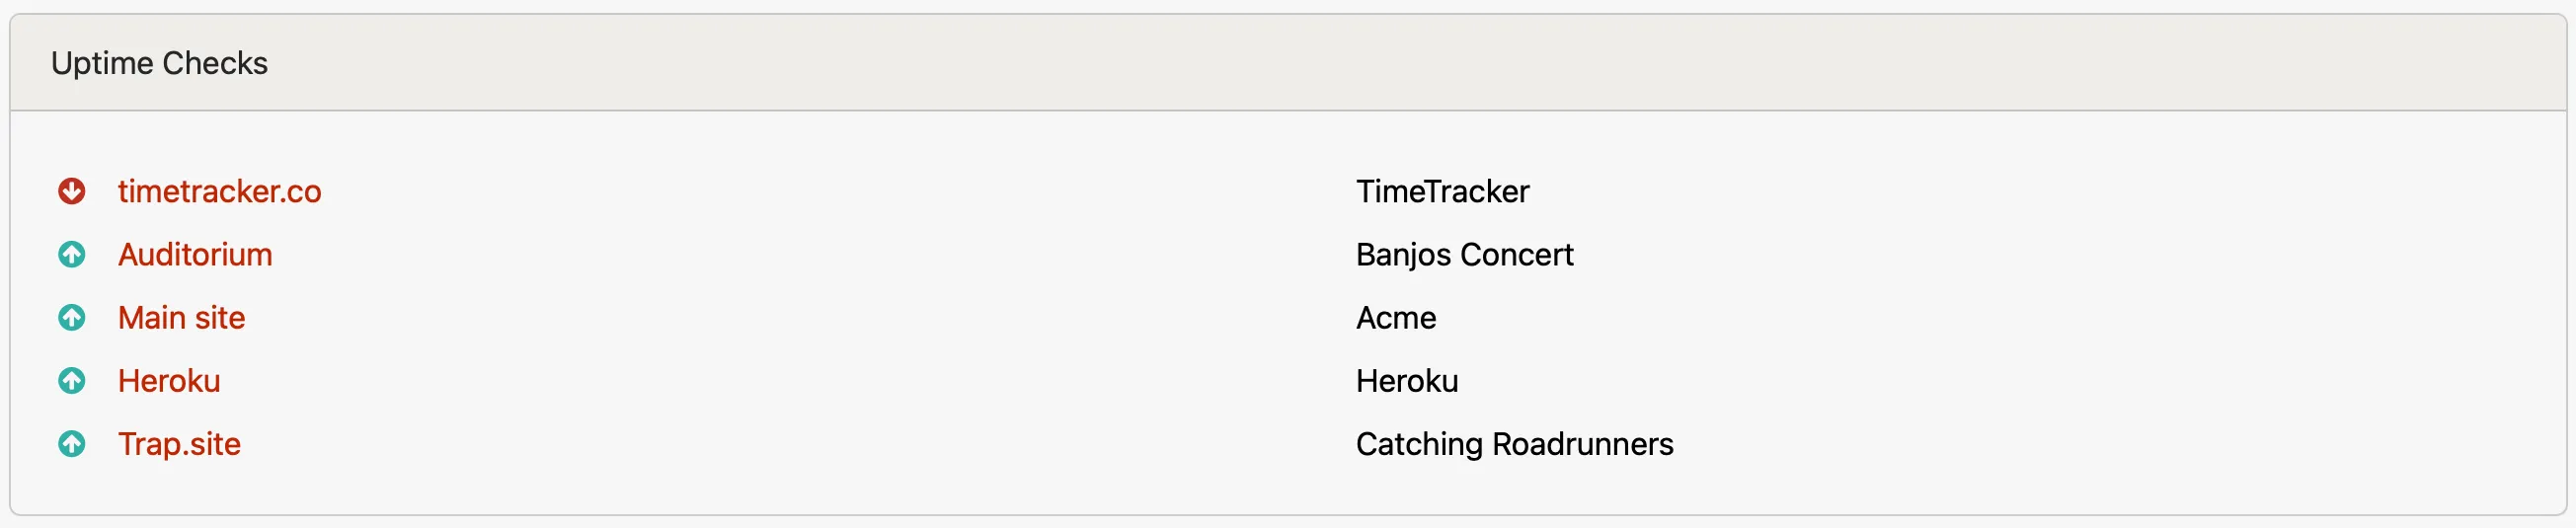
Section titled “Connecting checks”While editing your status page, toggle which uptime checks you would like included with your status page.
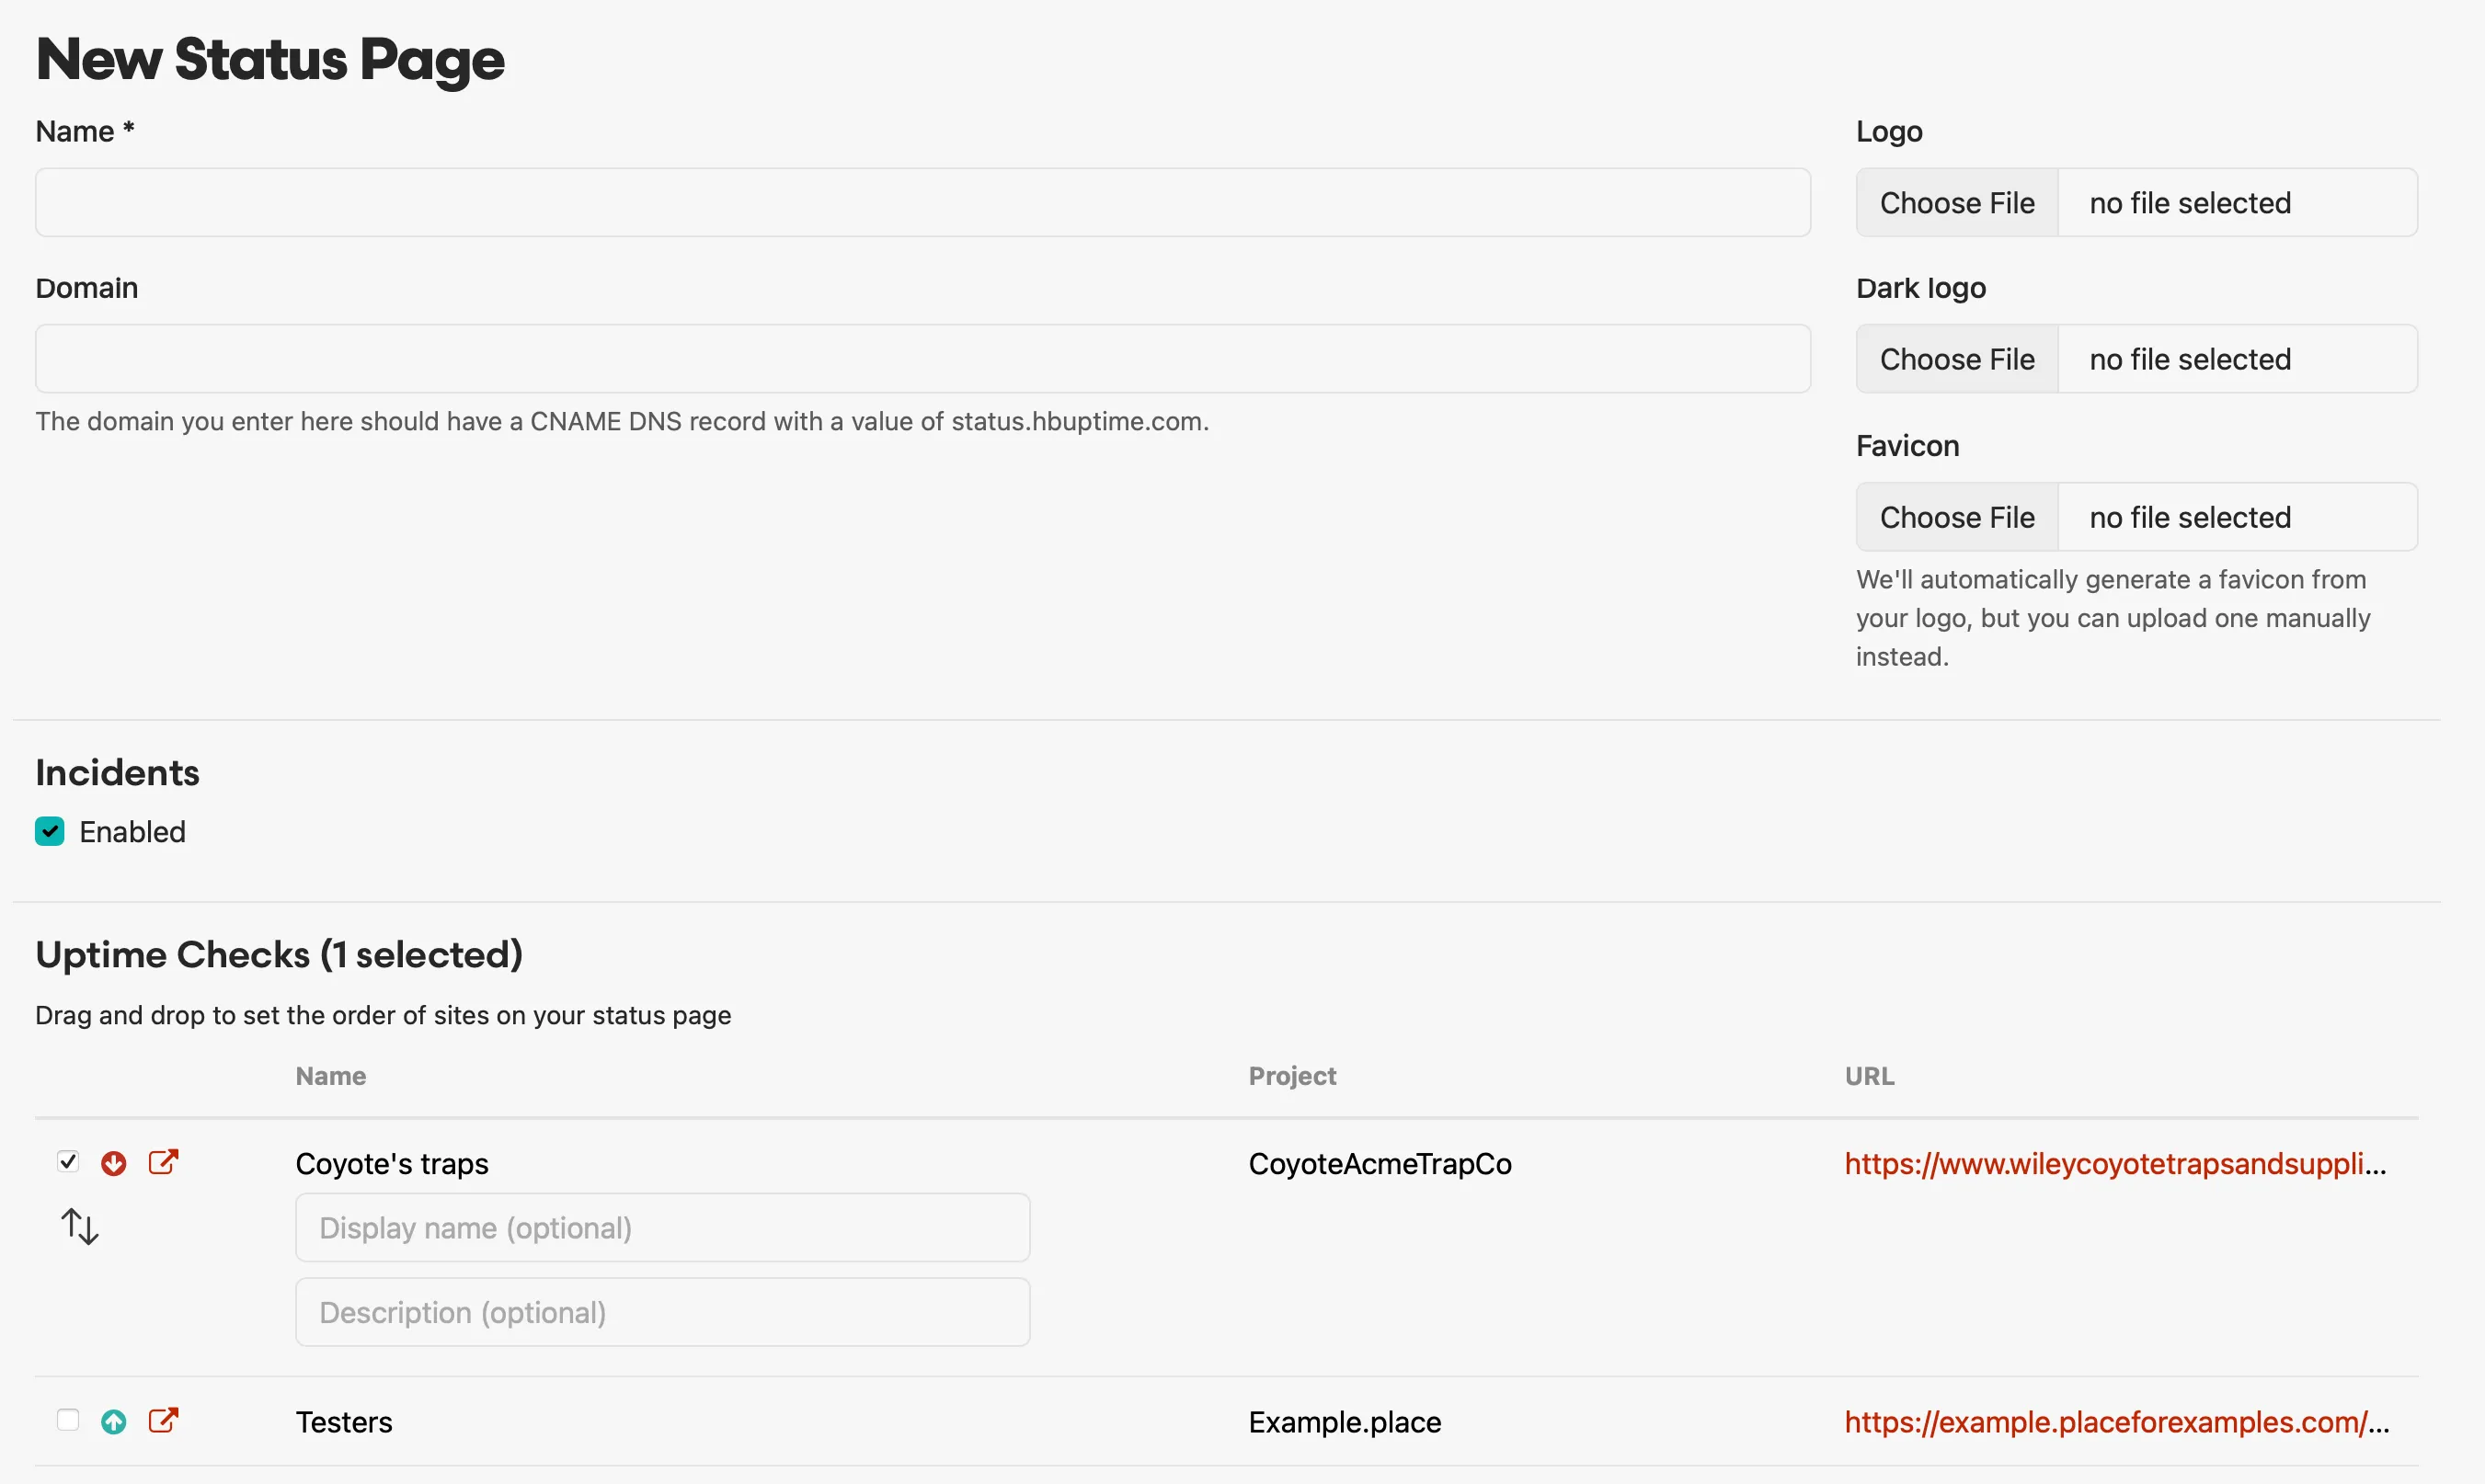
Give each uptime check an optional display name if you want to customize the name displayed publicly.
That’s it! We will show each uptime check’s current status and history on your public status page.
Incidents
Section titled “Incidents”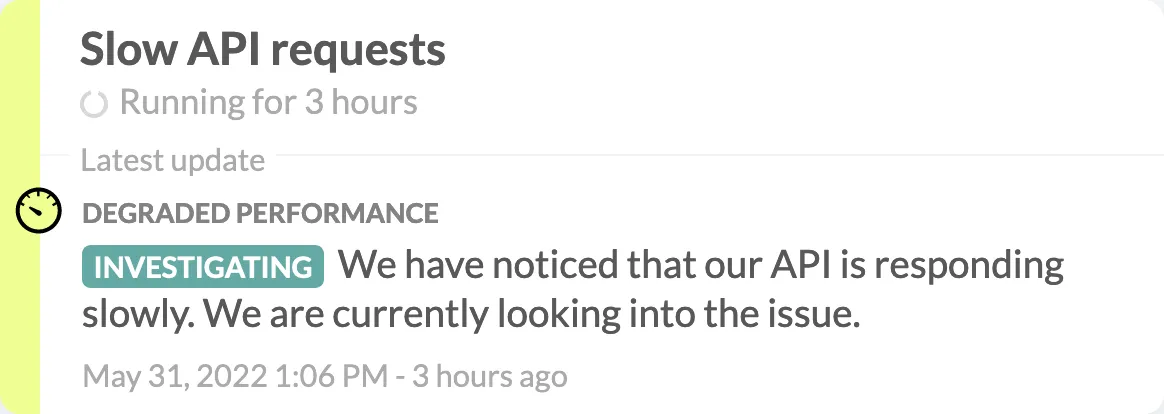
An incident is an effective way to communicate system issues to your users. It can also inform your users of upcoming planned maintenance or downtime.
Conceptually, an incident is a container for timestamped updates that describe the context surrounding a problem affecting your system. An incident can be as simple as a single update that explains some minor downtime, or it can span multiple days with many updates, each representing the changing severity and status of the incident.
Creating incidents
Section titled “Creating incidents”We provide three scenarios when creating incidents: Current,
Scheduled Maintenance, and Retroactive:
Current
Section titled “Current”
Current incidents start with one update and are typically open after creation (meaning you would not select “Resolved” as the starting status.)
Scheduled maintenance
Section titled “Scheduled maintenance”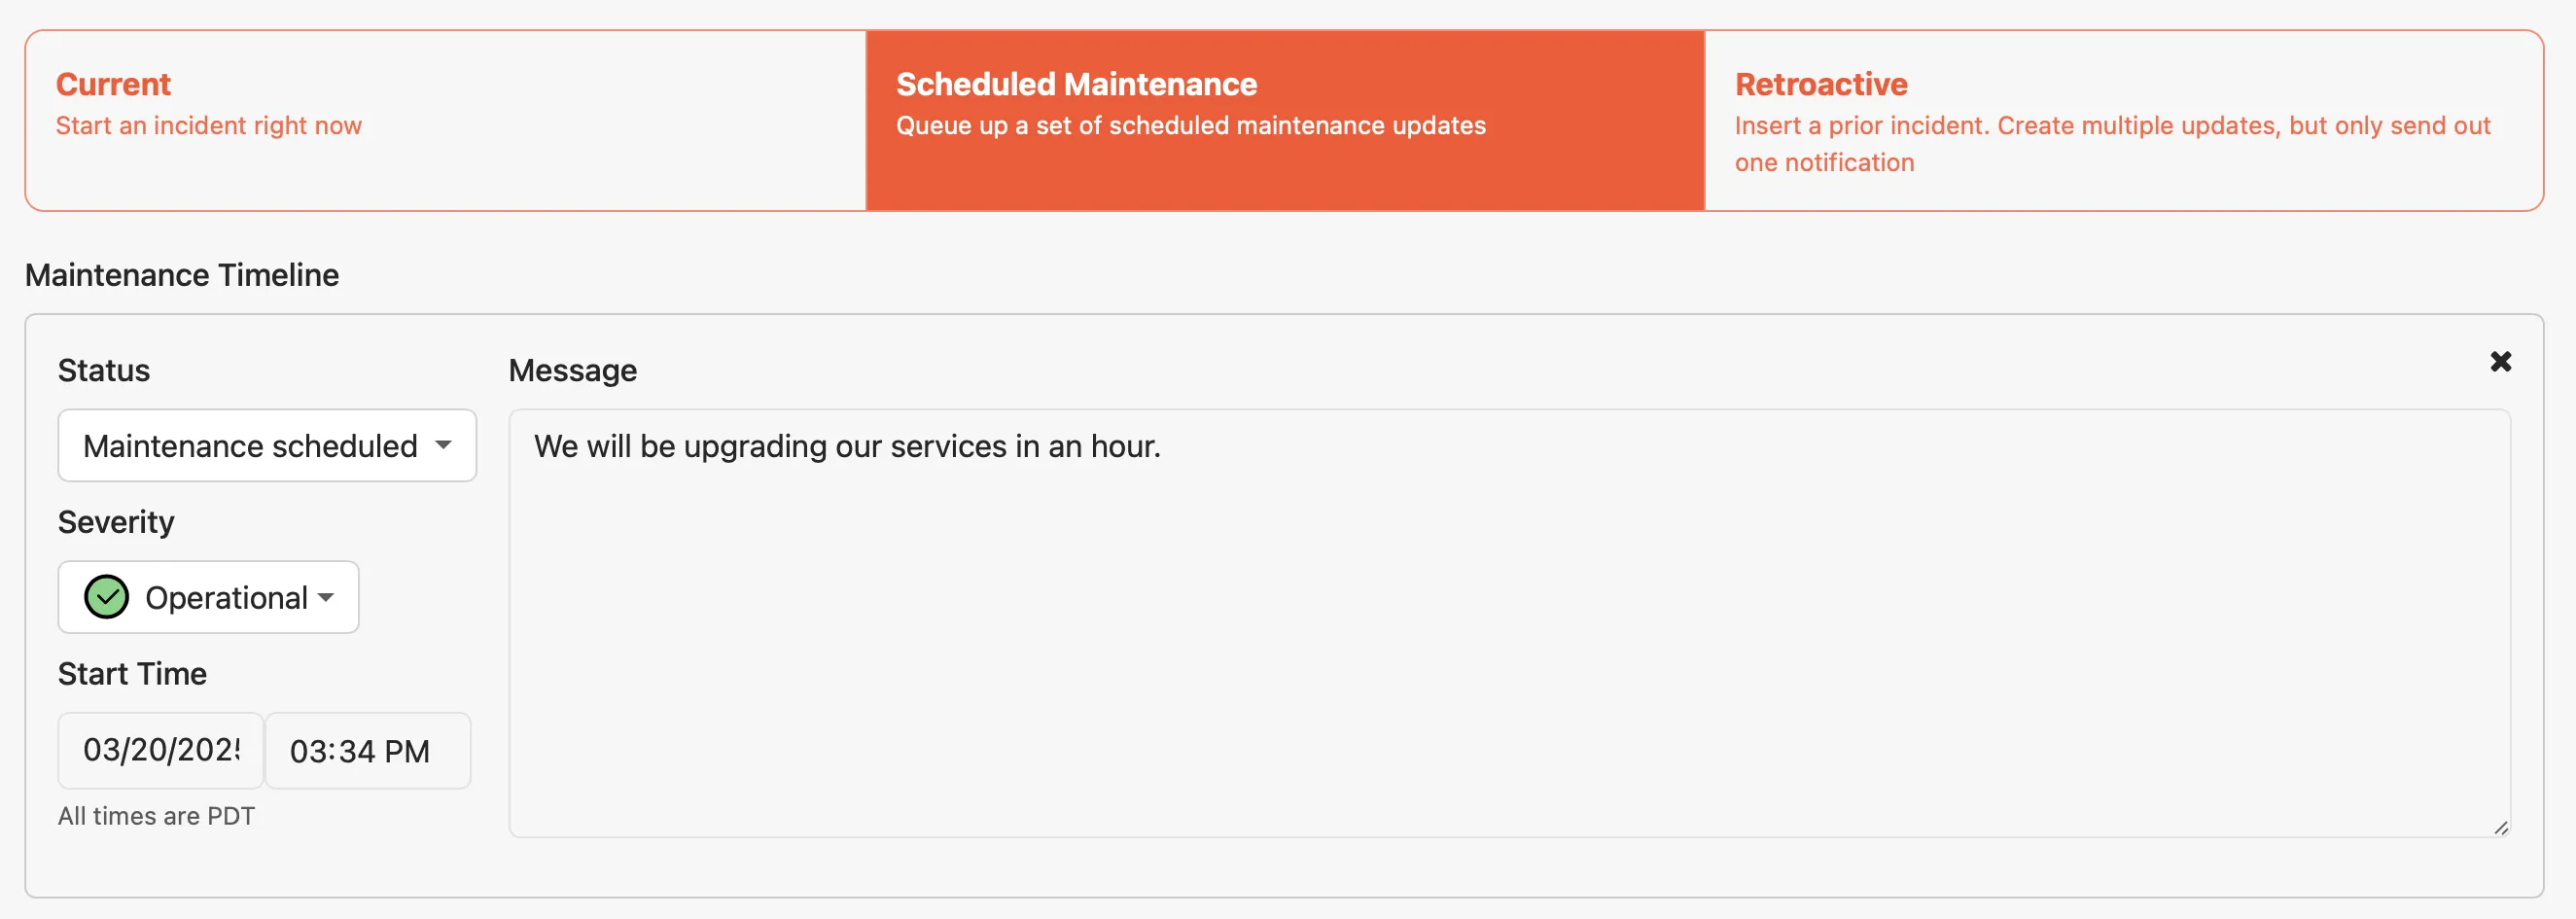
Scheduled Maintenance incidents are notable because you can queue updates for later posting.
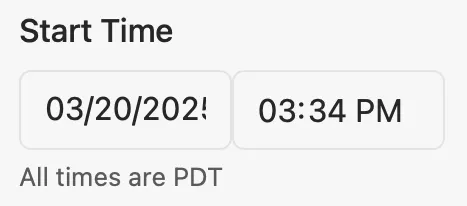
You can create up to three future updates, which we will post at the supplied
Start Time. Typically you will send out a Maintenance scheduled update that
describes the type of maintenance you will perform and when. After that, we have
both In Maintenance and Maintenence complete statuses that you can queue up
as individual updates. It’s up to you how much lead time to give your users,
based on how you stagger the timing of each update.
If you complete your maintenance sooner than expected, you can always edit the queued update and use the “send now?” button to post the update immediately.
Retroactive
Section titled “Retroactive”
Retroactive incidents give you a tool to create multiple incident updates in one operation. You can create a closed incident from months ago or an open incident that started minutes ago. If you don’t end with a closing update, the incident will be considered open.
A retroactive incident also allows you to craft a single announcement message to accompany your incident updates. This way, you have the option to summarize the incident yet keep each event as separate updates.
Posting an update
Section titled “Posting an update”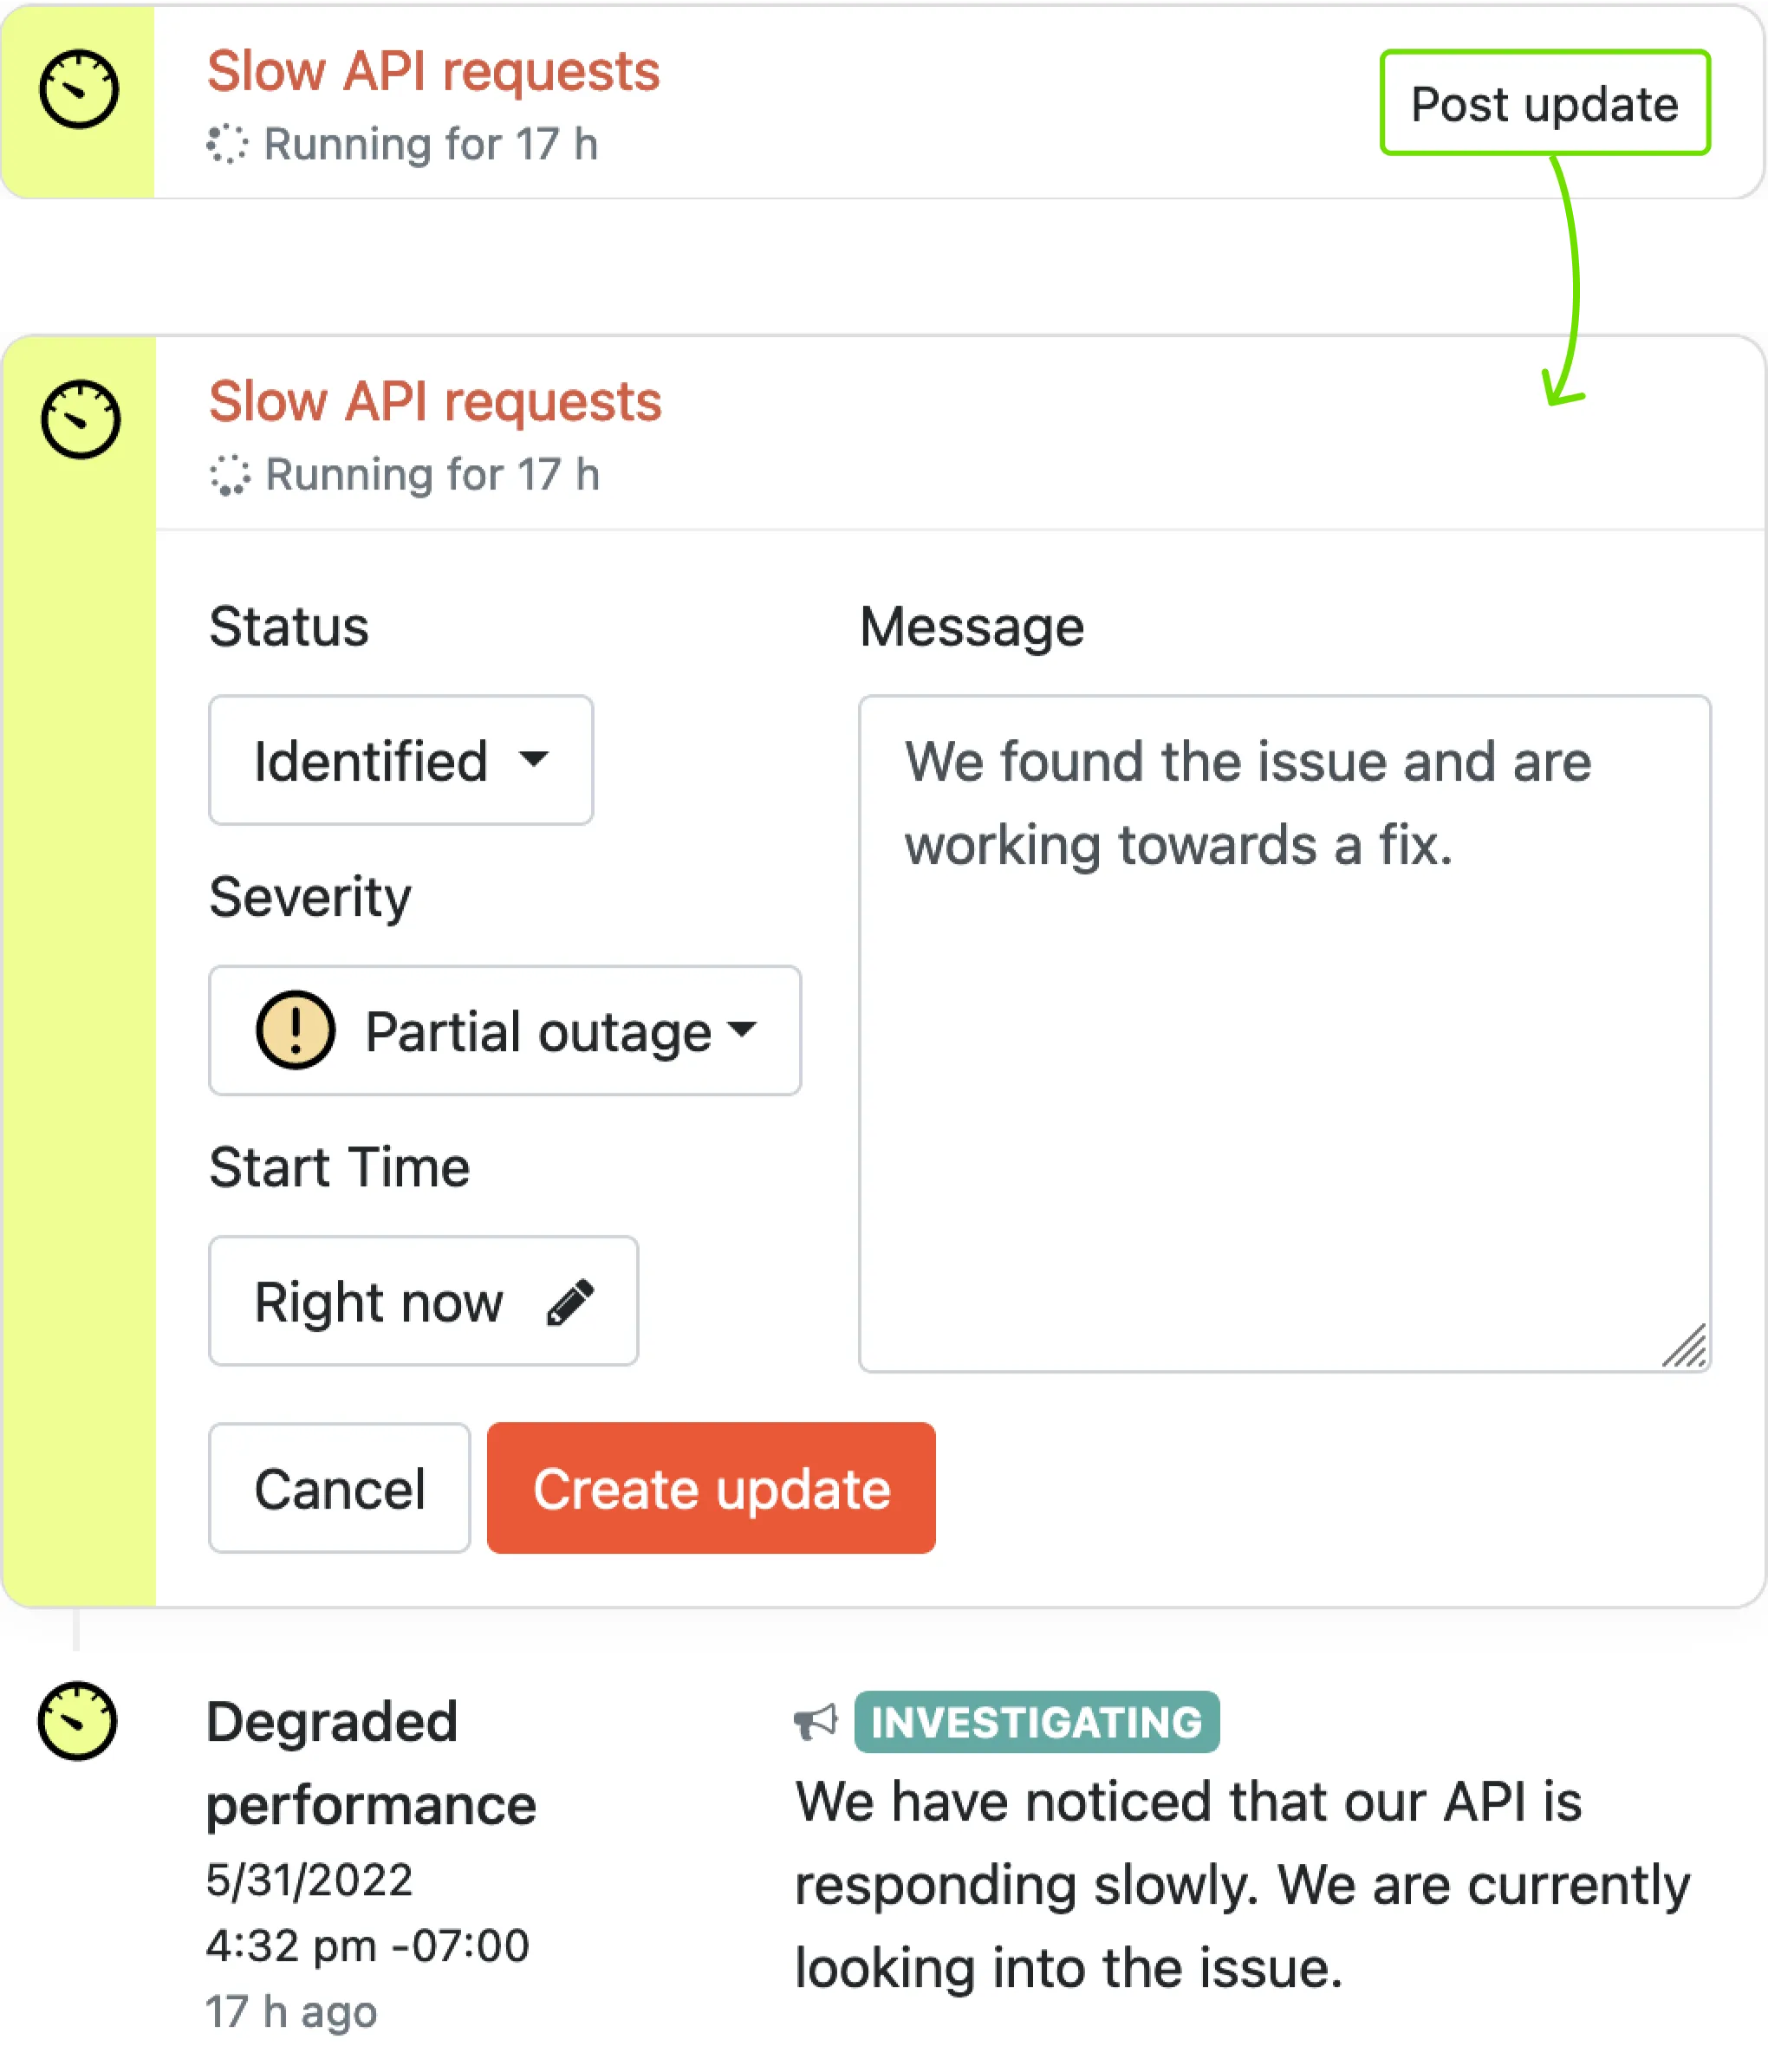
When you are ready to inform your users with an update to your incident, click the button in the incident header and fill in your update inline.
Severity and status
Section titled “Severity and status”When you create an incident or post a new update, you choose a status and
severity. status describes where you are in the process of resolving your
incident and severity describes how your system is currently affected by the
incident.
Scheduled maintenance incidents have a special set of statuses. You can, however, post an update during scheduled maintenance with an incident status, say if things go awry.
Open and closed incidents
Section titled “Open and closed incidents”An incident, when created, is considered “open.” It will be prominently displayed on your internal status page and made visible as an “active incident” on your public status page. When you provide an update containing a status that closes the incident, it will be “closed” and moved to the historical list of closed incidents.
Even if you have closed an incident with an update, you can always re-open it by posting an update with a new status. While this is possible and useful if something comes up right after closing an incident, we recommend you open a new incident if a significant amount of time has passed.
Announcing updates
Section titled “Announcing updates”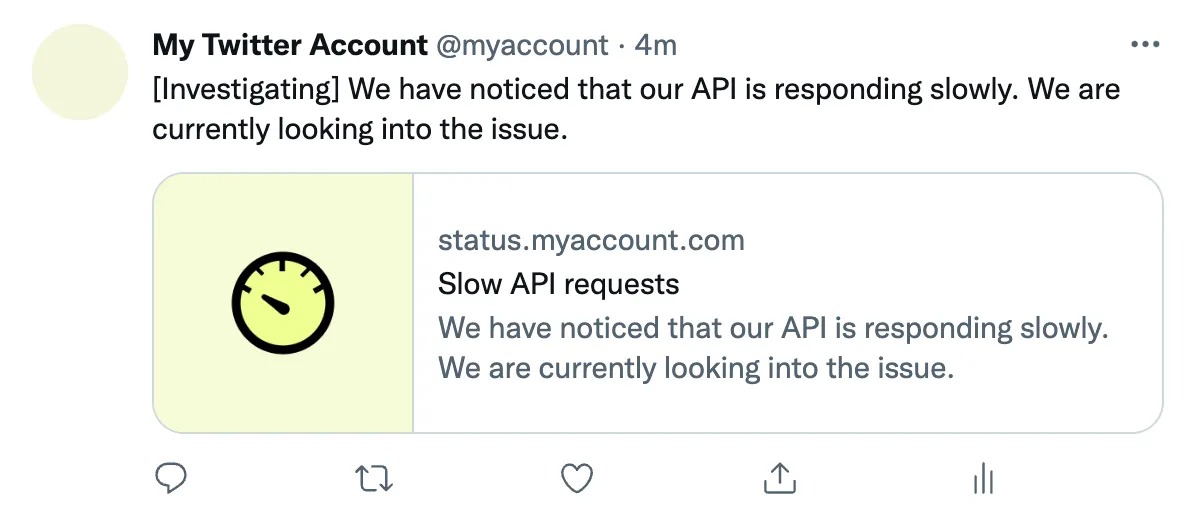
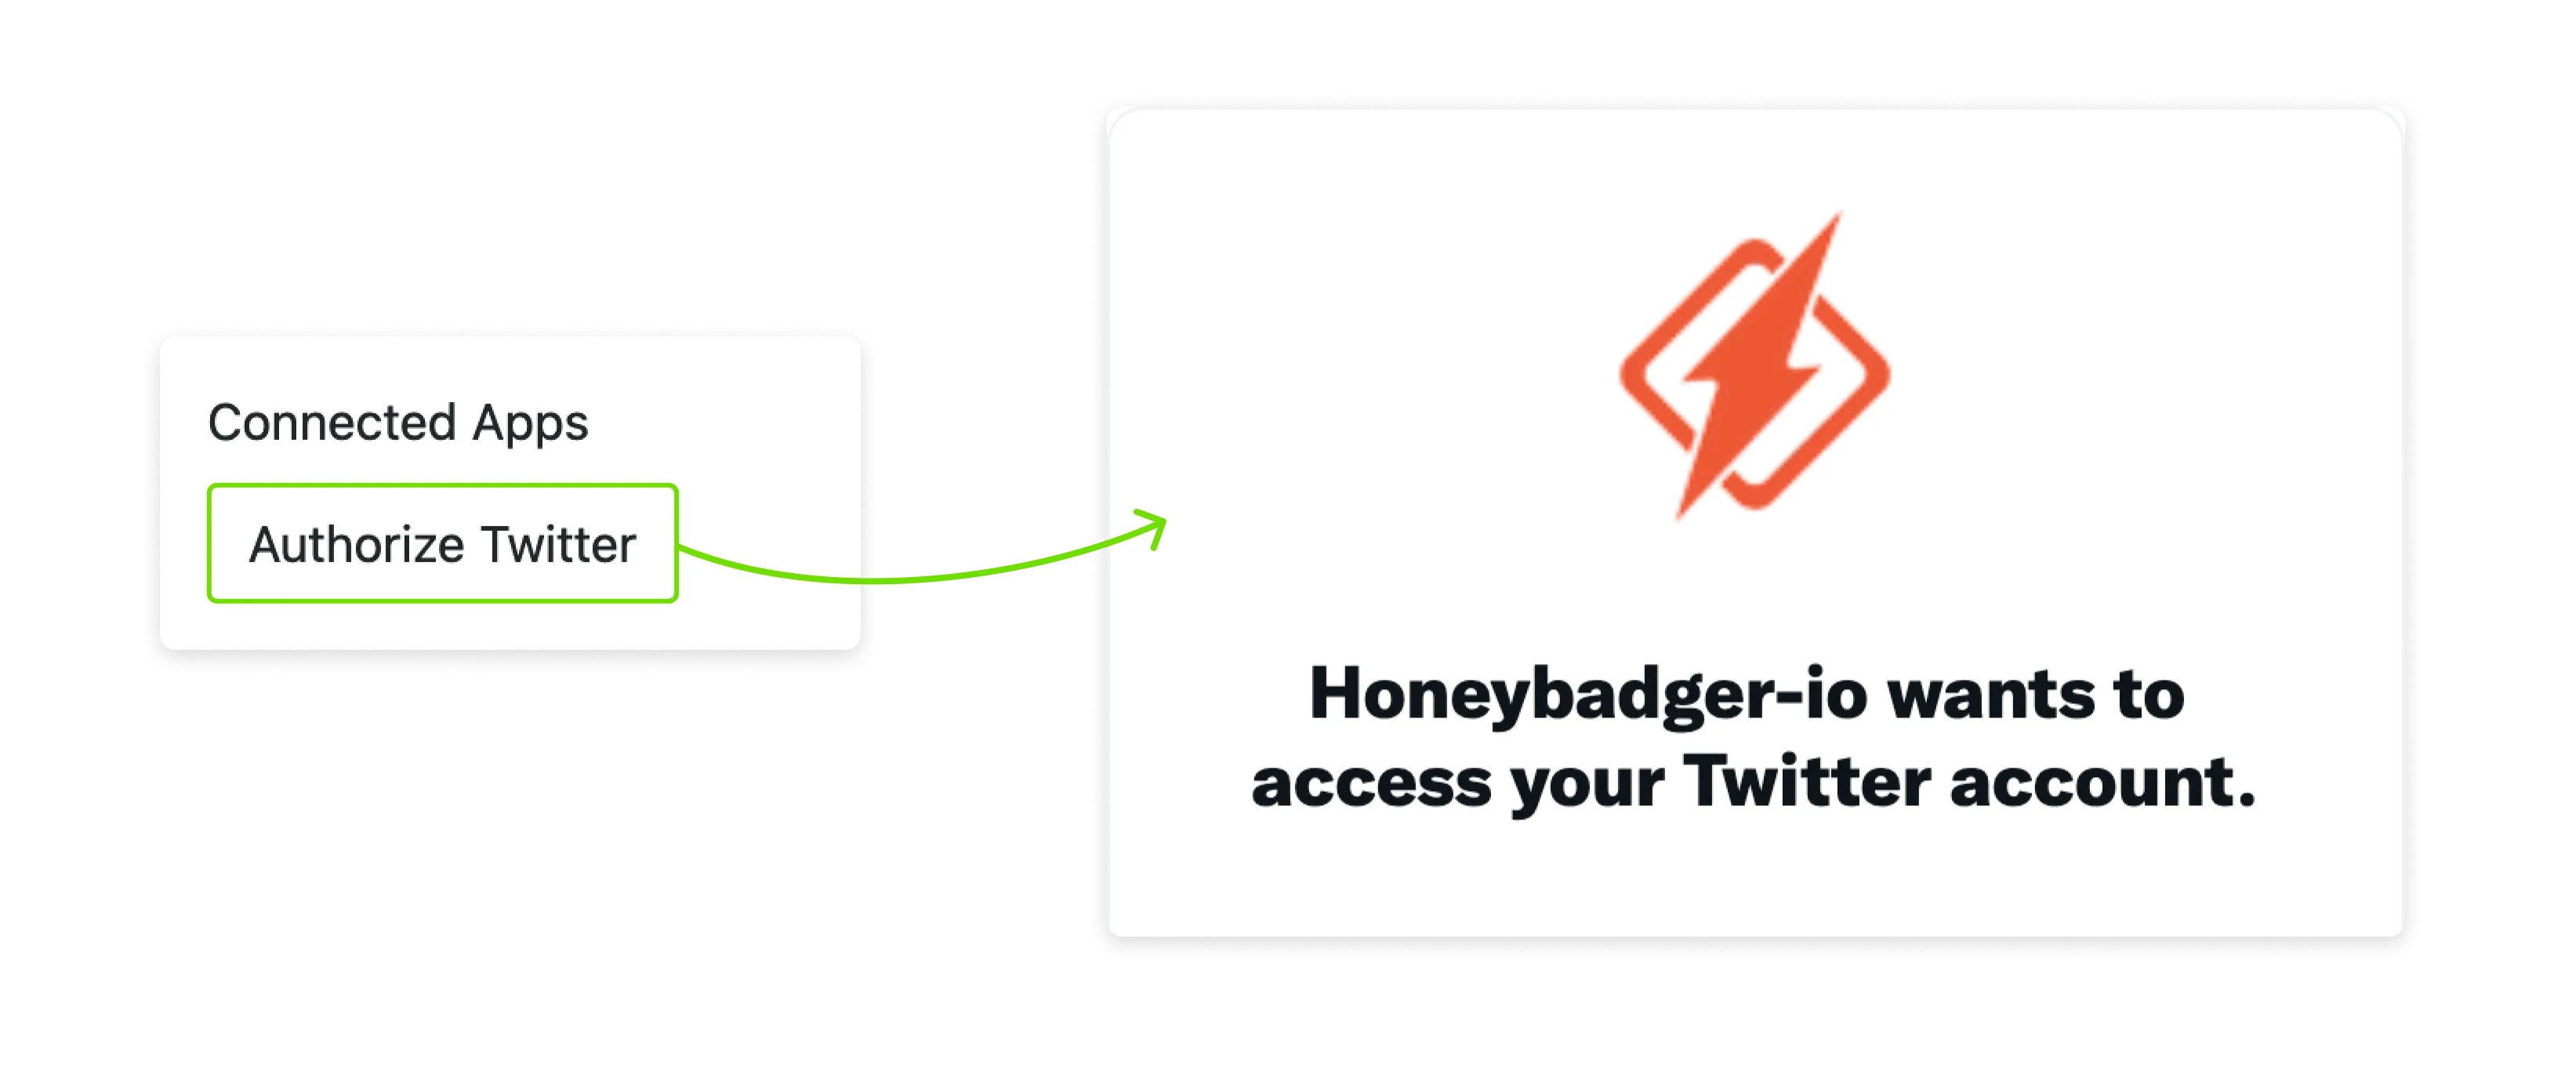
We provide the option to connect your status page to a Twitter account (while editing the status page). Linking your Twitter enables us to announce your incident updates to the world. Once connected, a new “Announce” option will be available while crafting any incident updates.
Password protection
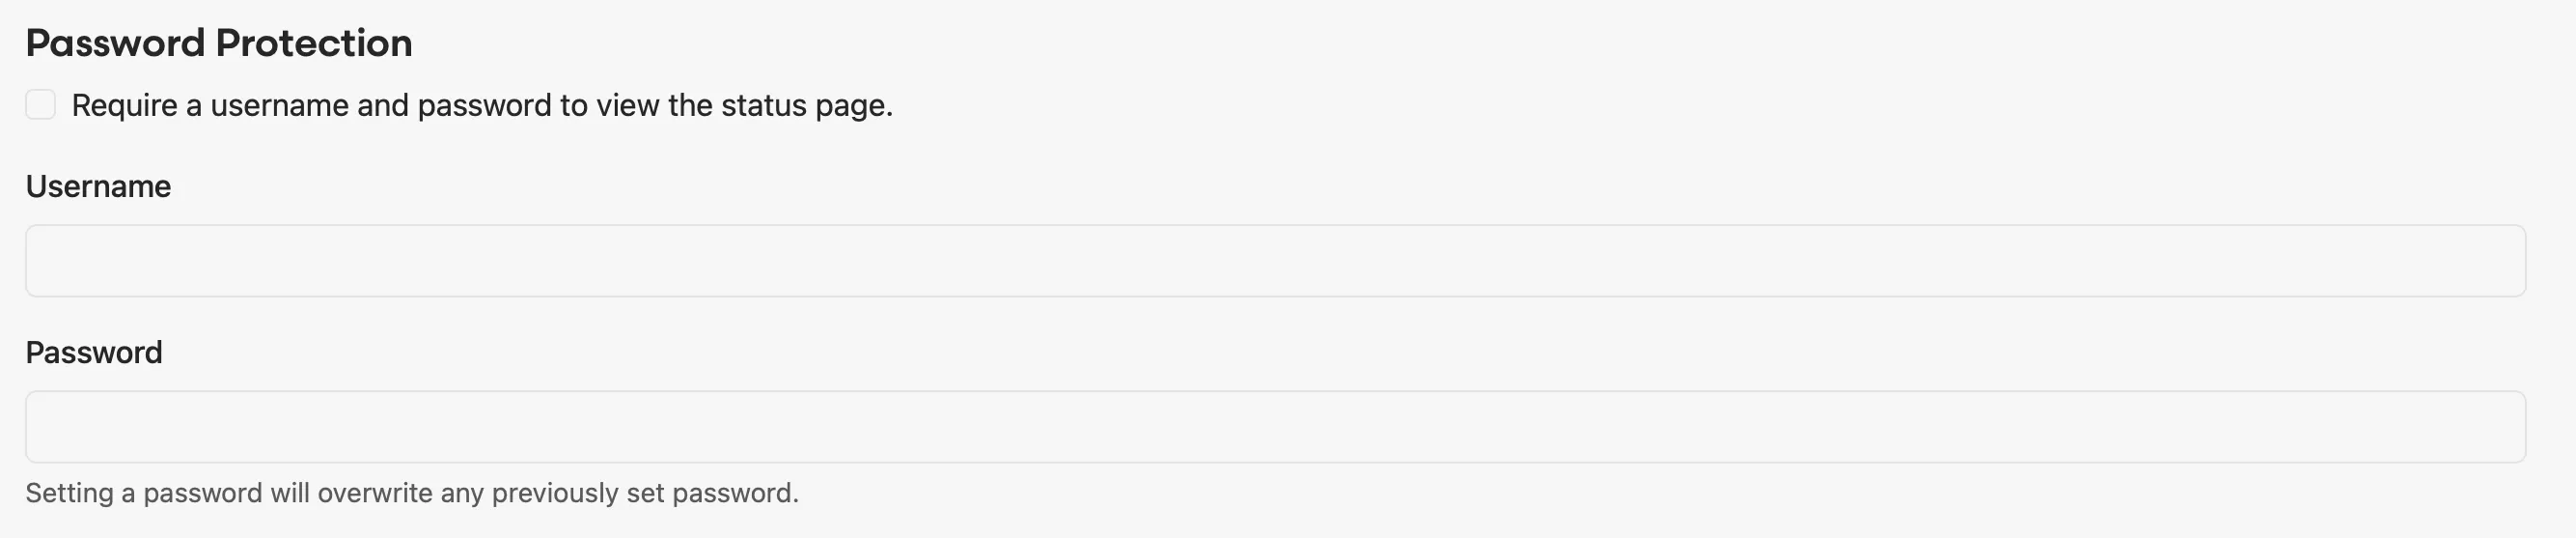
Section titled “Password protection”Honeybadger status pages can be configured to require a username and password before they can be viewed. This is useful for private or internal status pages that only those in your company should be able to view.
To enable password protection, edit your status page and check the “Require a username and password” checkbox. Set your desired username and password in the fields below. If you are using a password manager, be sure you don’t overwrite your login information for the Honeybadger app itself.
Embedding status updates
Section titled “Embedding status updates”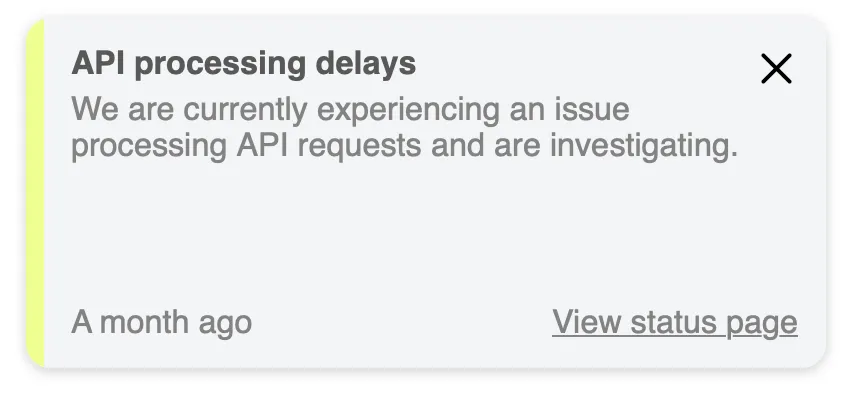
Incident management often requires communicating outages with your customers. With the status page embed feature, you can keep your users up to date when they visit your website.
Setup and usage
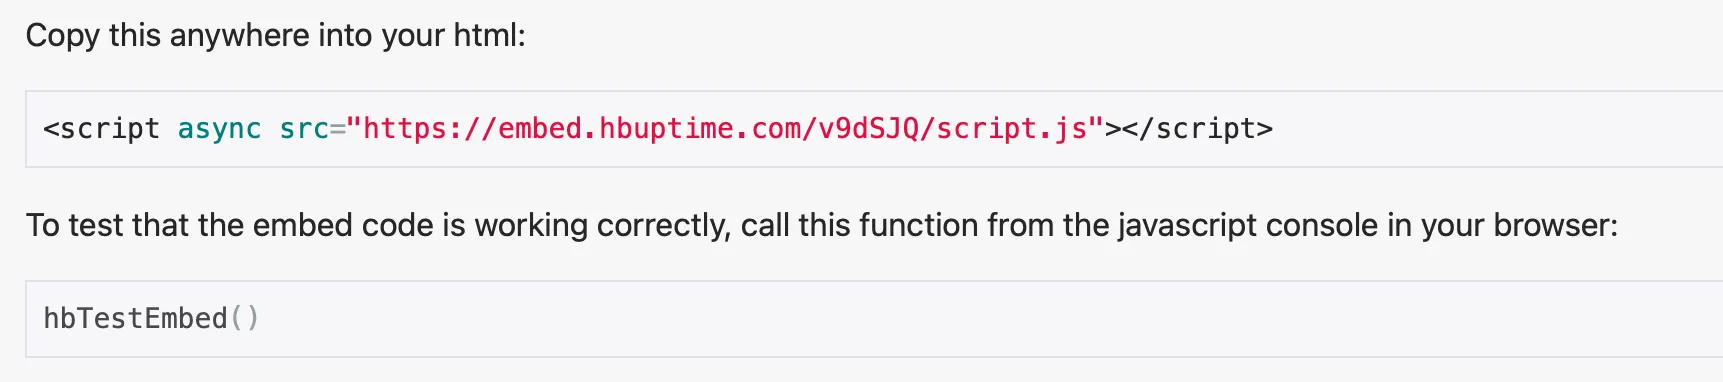
Section titled “Setup and usage”Each of your status pages will have their own unique installation instructions, go to your status page info page, you’ll find the link towards the bottom of the page.

Copy the snippet of code and paste it anywhere in the HTML of your site.
Like the status page, when you start an incident, the embed feature will always display the latest update to your users.
Customization
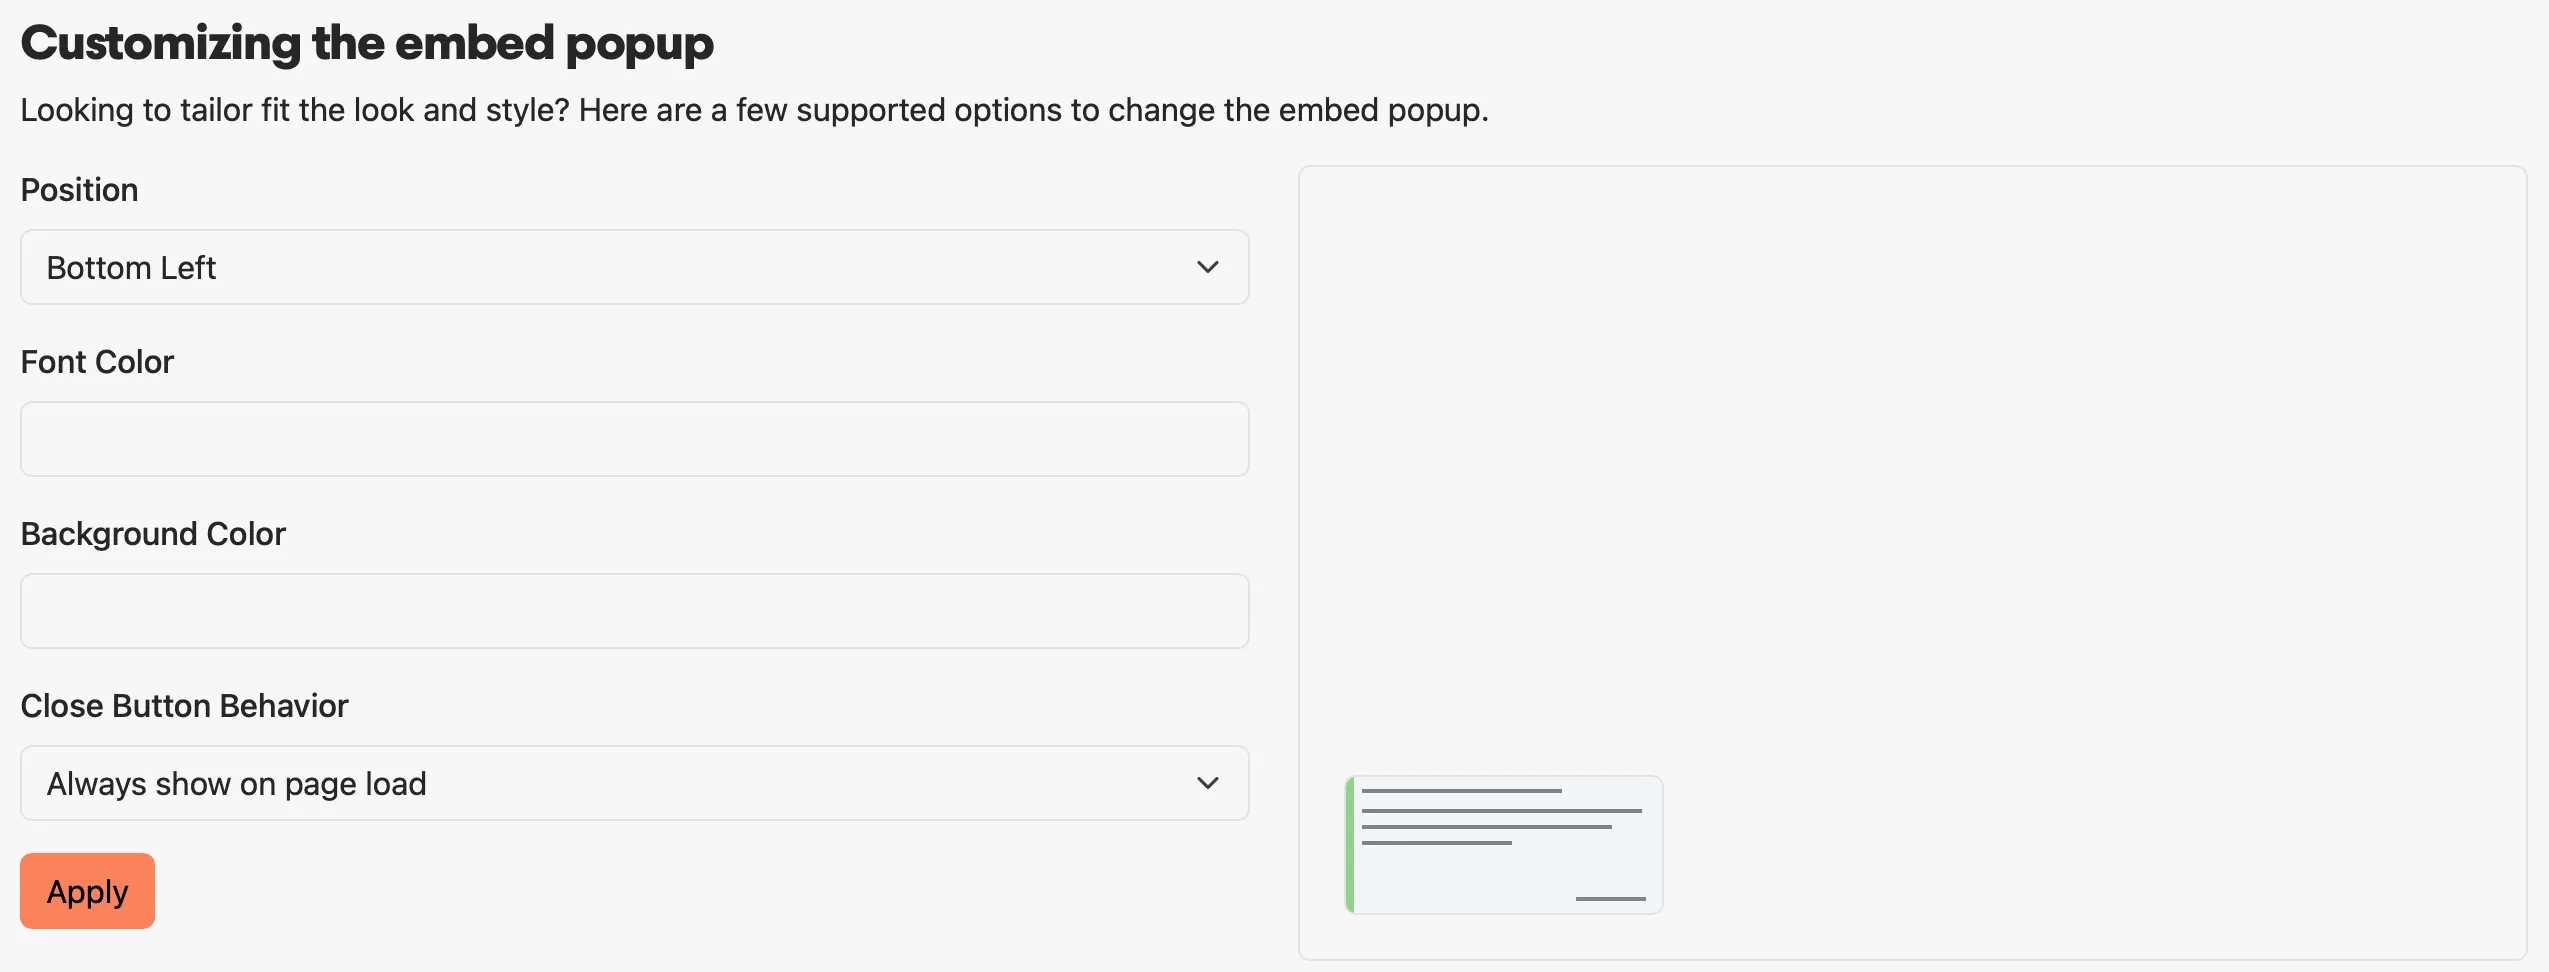
Section titled “Customization”The embed pop-up can be customized to better fit the look and feel of your site. Use the customization tool to adjust how you want it too look. When you are ready, copy and paste the HTML snippet onto your site. Here are some of the options you can customize:
- Position — Change where the popup will appear: bottom left (default), bottom right, top left, or top right.
- Font color — Set the font color of the text. Any valid CSS font color value can be used.
- Background color — Set the background color of the pop up. Any valid CSS color value can be used.
- Close button behavior — By default, the pop up will always show on page load. You can enable the persist feature so that when your visitor closes the pop-up, a browser cookie will be set so that it doesn’t pop up again until your next update. The cookie gets set to expire upon browser or session close.
Displaying scheduled maintenance
Section titled “Displaying scheduled maintenance”The status page embed works great with the schedule maintenance feature. Create your scheduled maintenance messages as noted above. Once the “Start Time” for your messages have passed, your visitors will see the latest update on your site via the embed pop up.
Displaying non-incident messages
Section titled “Displaying non-incident messages”If you have both an ongoing incident and a non-incident message enabled at the same time, the incident update messages will take precendence over the non-incident message.
Password protected status pages
Section titled “Password protected status pages”If your account has the password protected feature and you have enabled the feature for your status page, the embed feature will become disabled. To use the embed feature, you’ll need to disable the password protection feature.
SEO and analytics
Section titled “SEO and analytics”
Search engine indexing
Section titled “Search engine indexing”By default, search engines can find and index your status pages—meaning they can end up in search results. You can turn off this behavior by checking the “Do not allow search engines to index my search page” checkbox. Search engines may take time to update their results if your status page is already indexed.
If you want added protection and privacy, look at our Password Protection feature to prevent unwanted access to your Status Page.
Google Analytics
Section titled “Google Analytics”You can also add your Google Analytics ID to enable Google Analytics tracking for your Status Page.