
Projects
Almost everything in Honeybadger is scoped to a project. We have some powerful configuration features to help you manage your errors.
At the top of the project page, there are tabs for the windows containing all aspects of the project.


General project settings
Section titled “General project settings”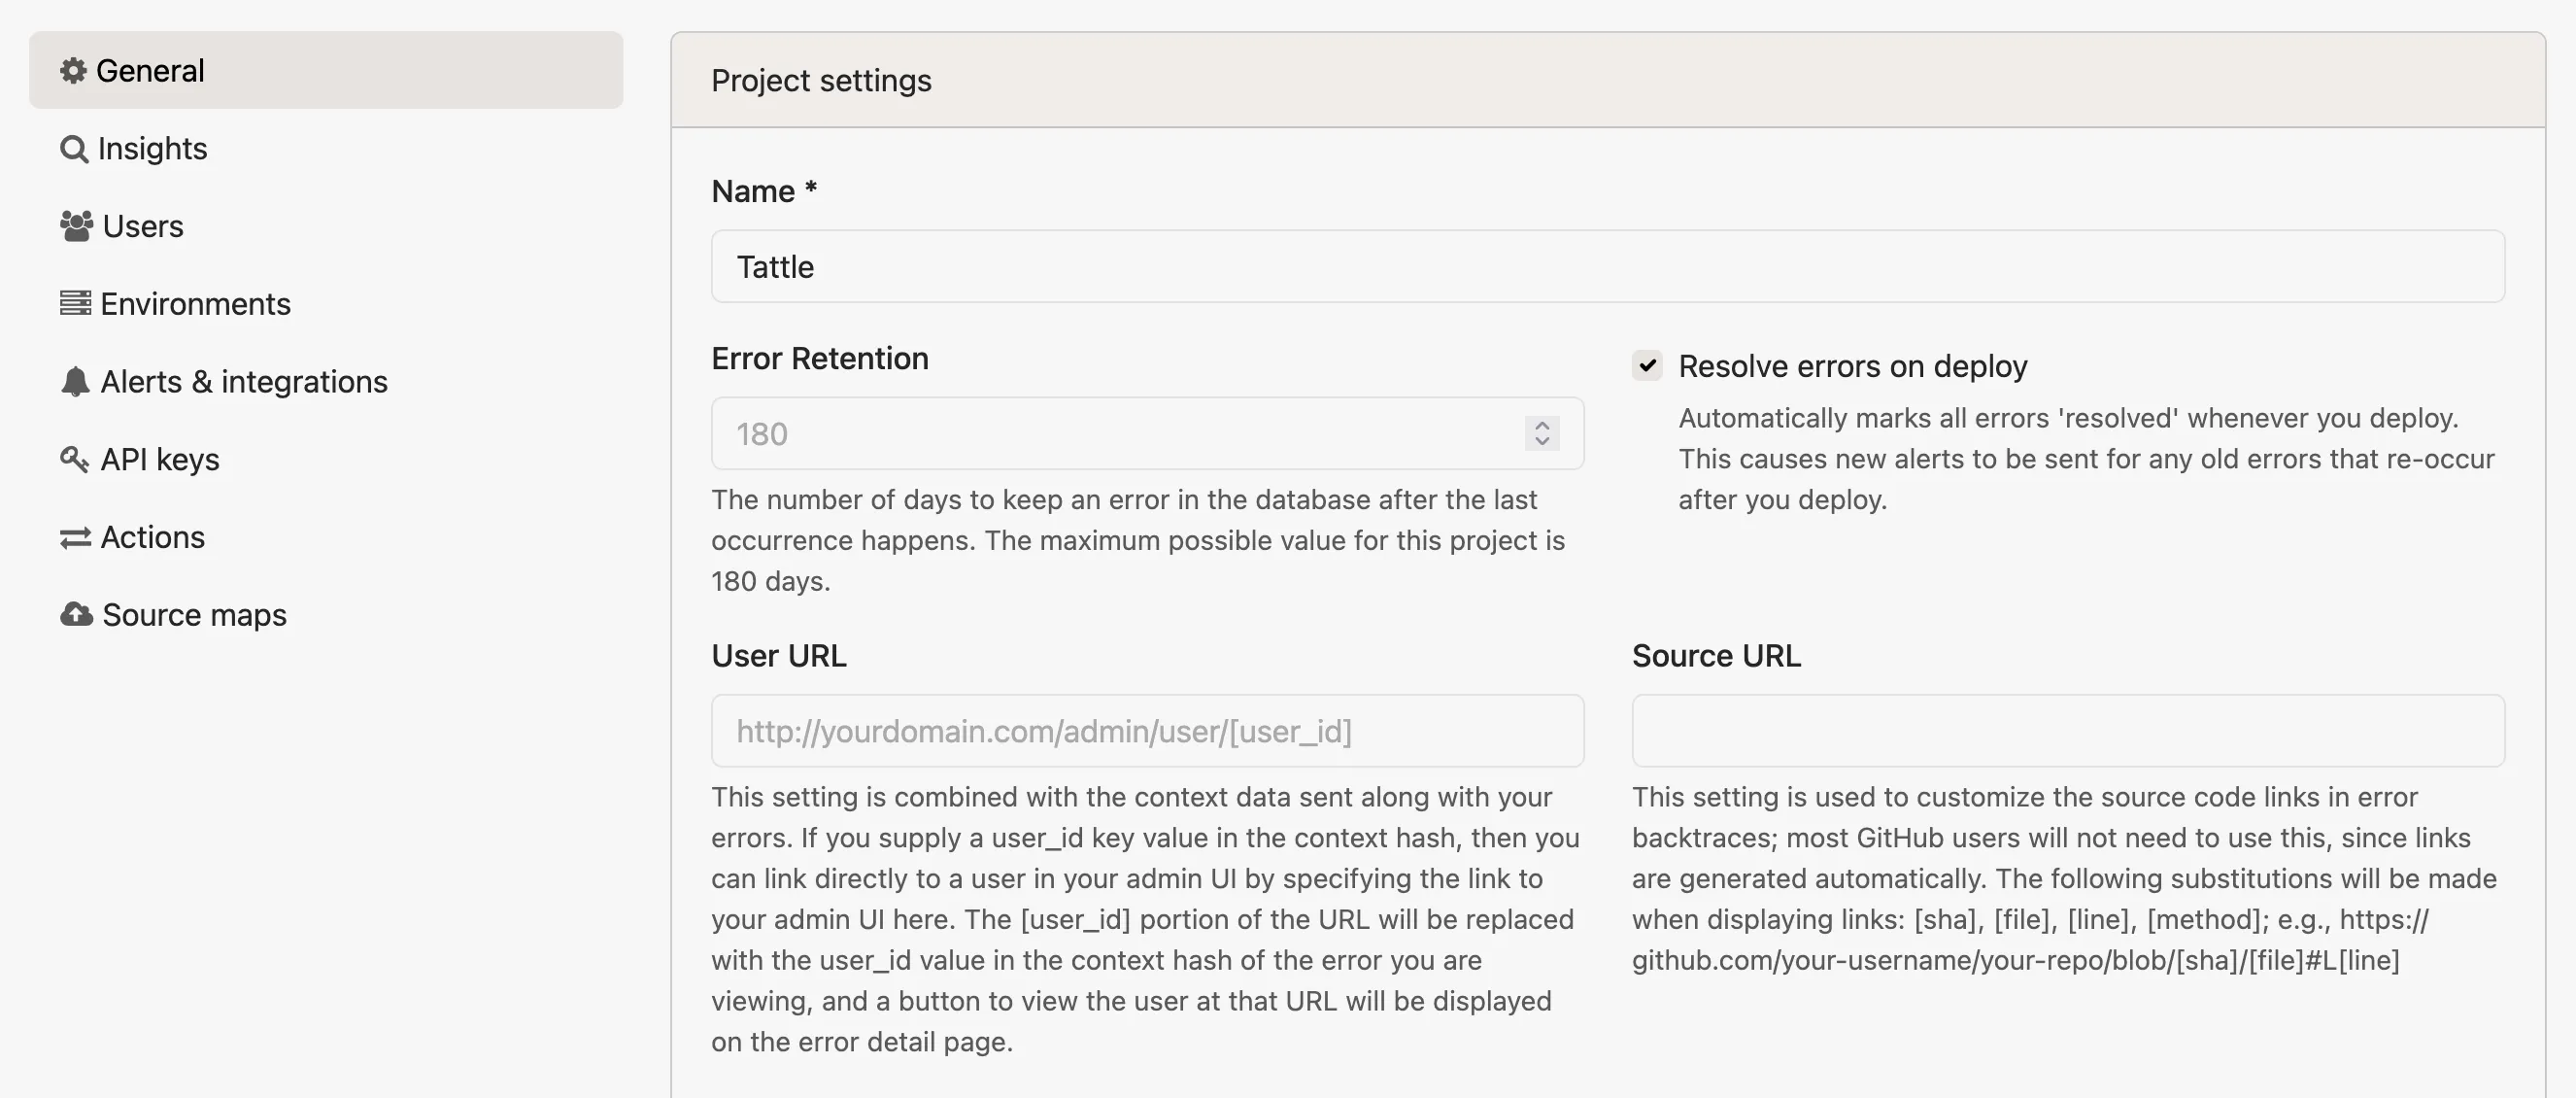
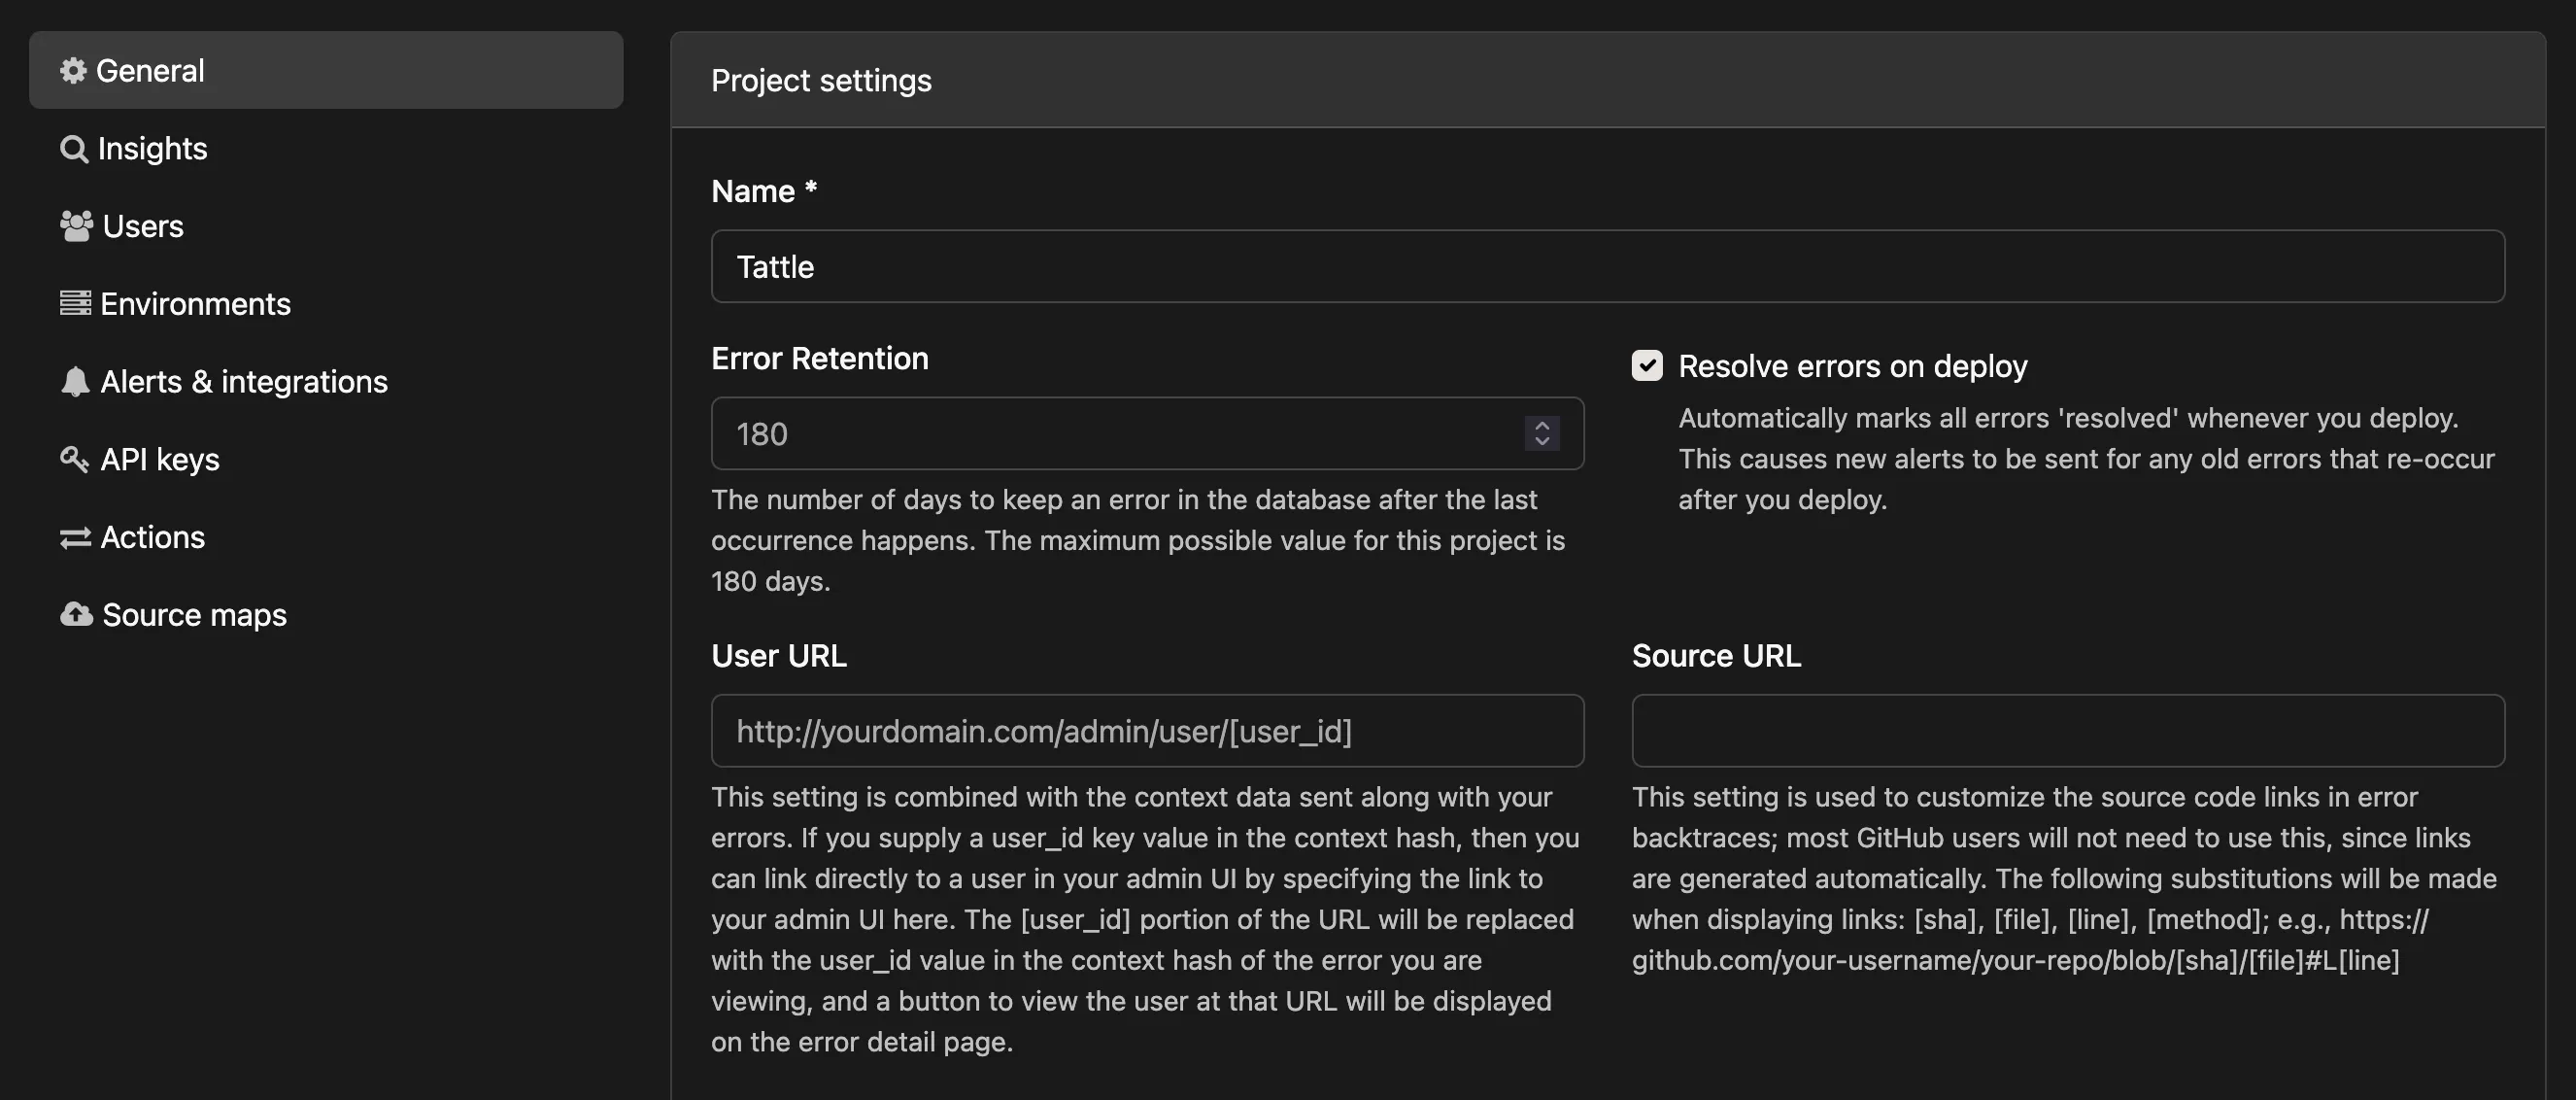
The General tab holds the project’s core settings.
Error retention
Section titled “Error retention”Error retention is the number of days an error is kept after its last occurrence. The maximum for your project is shown below the field. Lower it if you need to enforce a data retention policy for compliance reasons. Error data, including any context you send, is deleted once the retention period expires.
Resolve errors on deploy
Section titled “Resolve errors on deploy”The Resolve errors on deploy setting automatically marks all errors “resolved” when you report a deployment, causing new alerts to be sent for any errors that re-occur. When turned off, you can resolve individual errors on the next deploy from the actions area on the error page.
Linking to your users and code
Section titled “Linking to your users and code”Honeybadger can only show what your app sends it, but these settings let the error detail page connect that data back to the systems you already use: your admin tools, your source repository, and your own domains.
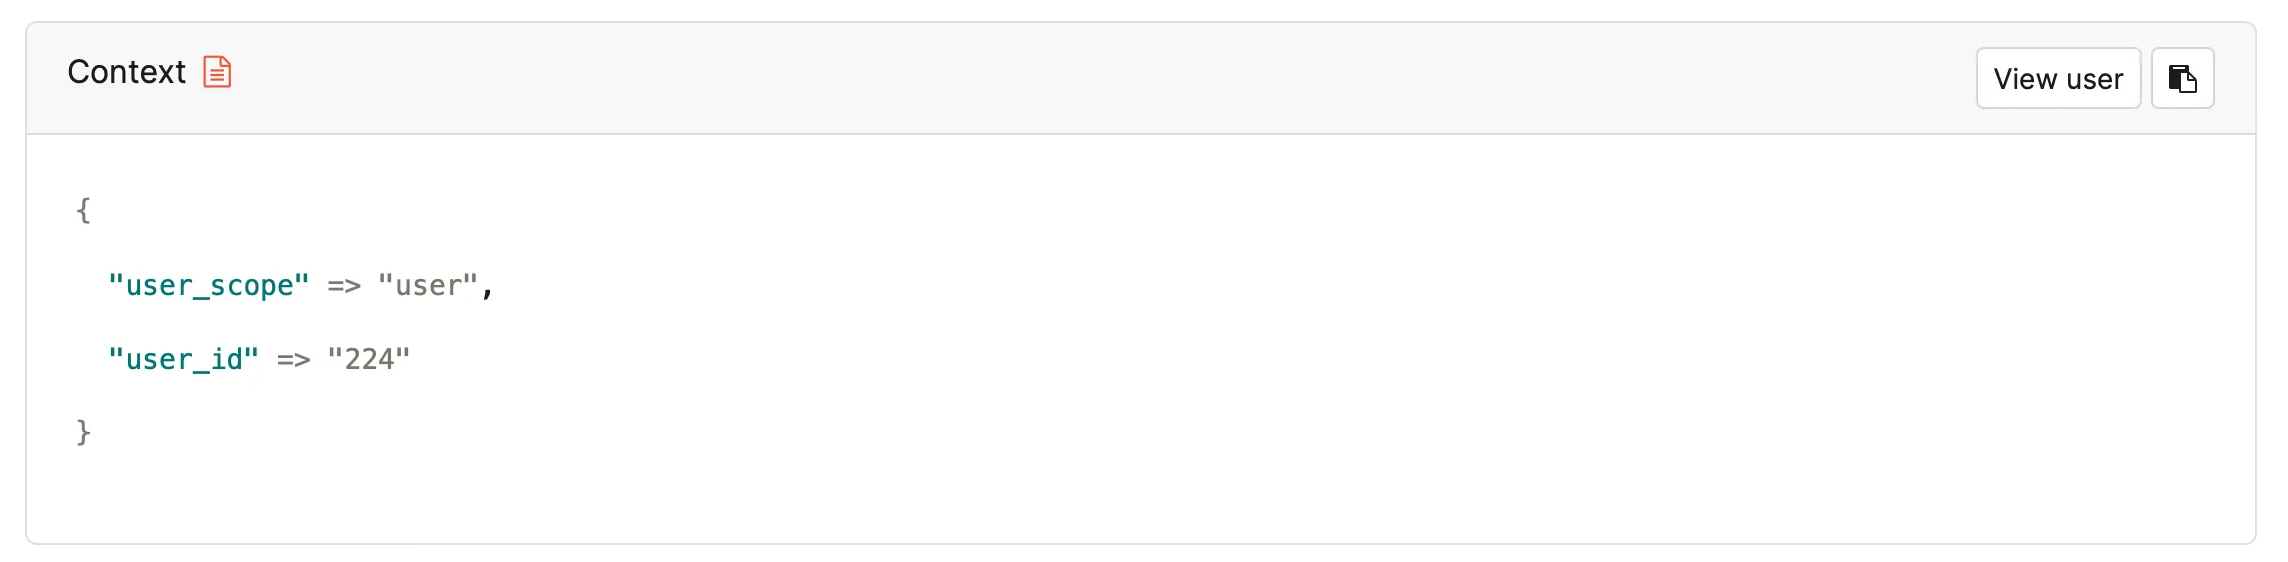
The User URL field can be used to add a link in the Honeybadger UI to a URL you
specify (such as an internal admin tool) with the user ID populated from the
context.user_id data in your error report. When this field is populated and an
error notification includes the user_id data, a button labeled “View user” is
added to the error detail page that you can use to click through to the User
URL:
If your context includes the user ID in a field other than context.user_id,
you can use the User search field setting to specify where in your payload the
user ID exists. You can also use this to override what field should be used as
your user ID — e.g., you could specify context.user_email if you’d prefer to
use email addresses rather than IDs. Regardless of the field you use, that
field’s value will be stored as the user in the search index and displayed
in the notice timeline list and elsewhere in the UI.

The Source URL field customizes the source code links in error backtraces. If
you use the GitHub integration, links are
generated automatically and you can leave this blank. For other hosts, enter a
URL template using the [sha], [file], [line], and [method]
placeholders. For example:
https://github.com/your-username/your-repo/blob/[sha]/[file]#L[line]Linkable domains restricts which request URLs are rendered as clickable links on the error detail page. Enter a space-delimited list of domains, or leave it blank to link all URLs.
Throttle
Section titled “Throttle”The Throttle field allows you to set a limit for the number of errors the project can receive per minute. This can be useful for preventing a noisy project (like one dedicated to a QA or staging environment) from consuming too much of your quota.
Public error pages
Section titled “Public error pages”You can make an error public by clicking “Share URL” in the actions area of the error you want to share. We provide you with a unique URL to give to collaborators. This is great but can be cumbersome when sharing multiple errors. Public Error Pages are a place where collaborators can view shared errors.
Once you enable the Public Error Page (Project settings → General → Enable public dashboard), collaborators can find shared errors in a similar view as the error listing page (with some restrictions). This can be especially useful if you pair this feature with Project Actions.
If you never want errors shared outside your team, check Disable public links. This removes the “Share URL” button from error pages and also disables the public dashboard.
Transfer project
Section titled “Transfer project”You can transfer a project to another account by choosing it from the dropdown. Before you do, note that:
- The new owner becomes responsible for payment.
- You keep access to the project unless the new owner removes you.
- The project is removed from any teams it was assigned to, so members of those teams lose access.
To move everything (projects, teams, and billing) to another user, add them as an account owner on the Account Settings page instead. See Accounts for details.
Delete project
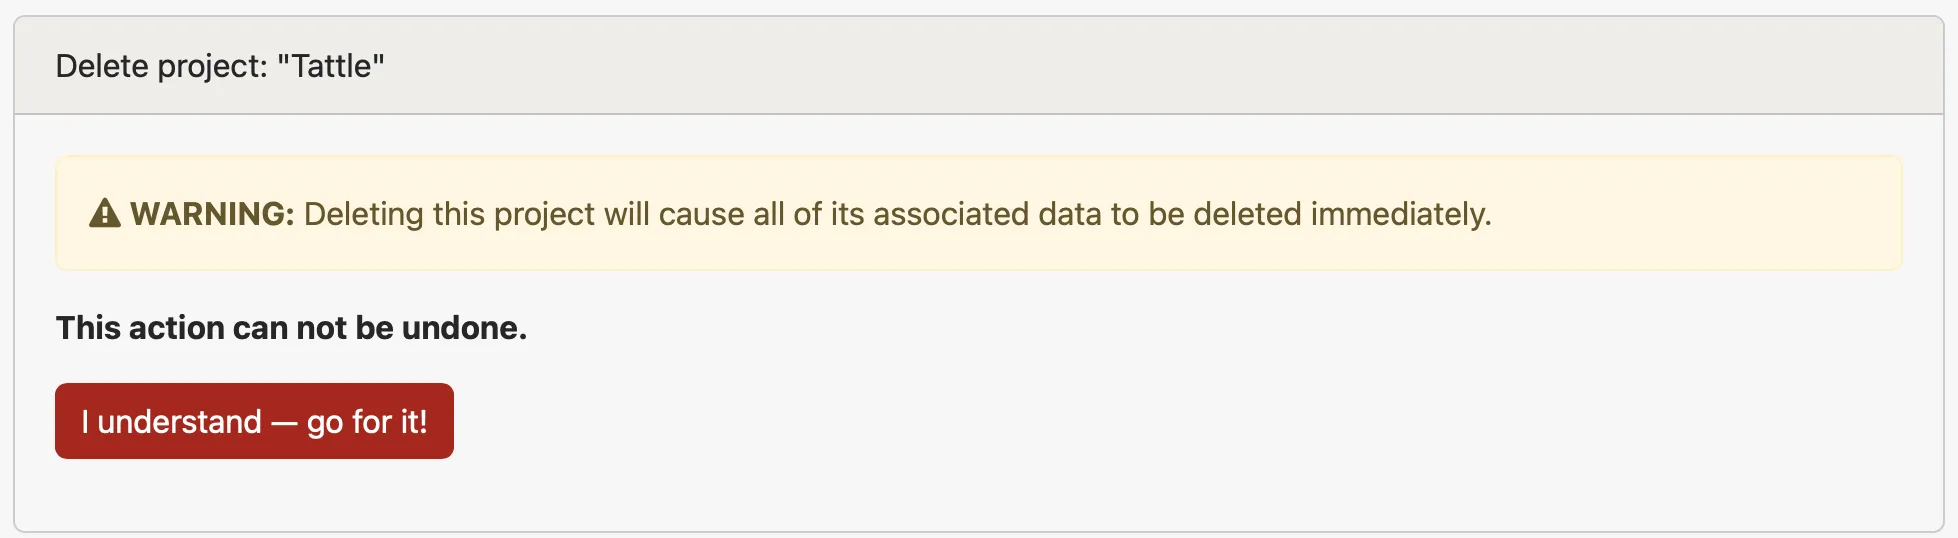
Section titled “Delete project”At the bottom of the General tab is the project delete button. Deleting a project removes all of its data immediately and cannot be undone.
Insights
Section titled “Insights”The Insights tab shows your current Insights data limits and has a link to the Insights stats page, which can also be found by navigating to the API stats for a project.
To read more about configuring Insights, check out the Insights documentation page.
From the Users settings tab, you can see and manage which users have access to the project and what teams are assigned to the project. This page also lets you see the members of each team currently assigned to the project.
Users can have admin privileges for a project if you add them individually while specifying the admin permission or if they have admin privileges on a team that is assigned to the project. Users having admin privileges at the account level (managed via the Users tab of the Account Settings page) will also have admin rights on the project.
To read more about user management, check out the User Management documentation page.
Environments
Section titled “Environments”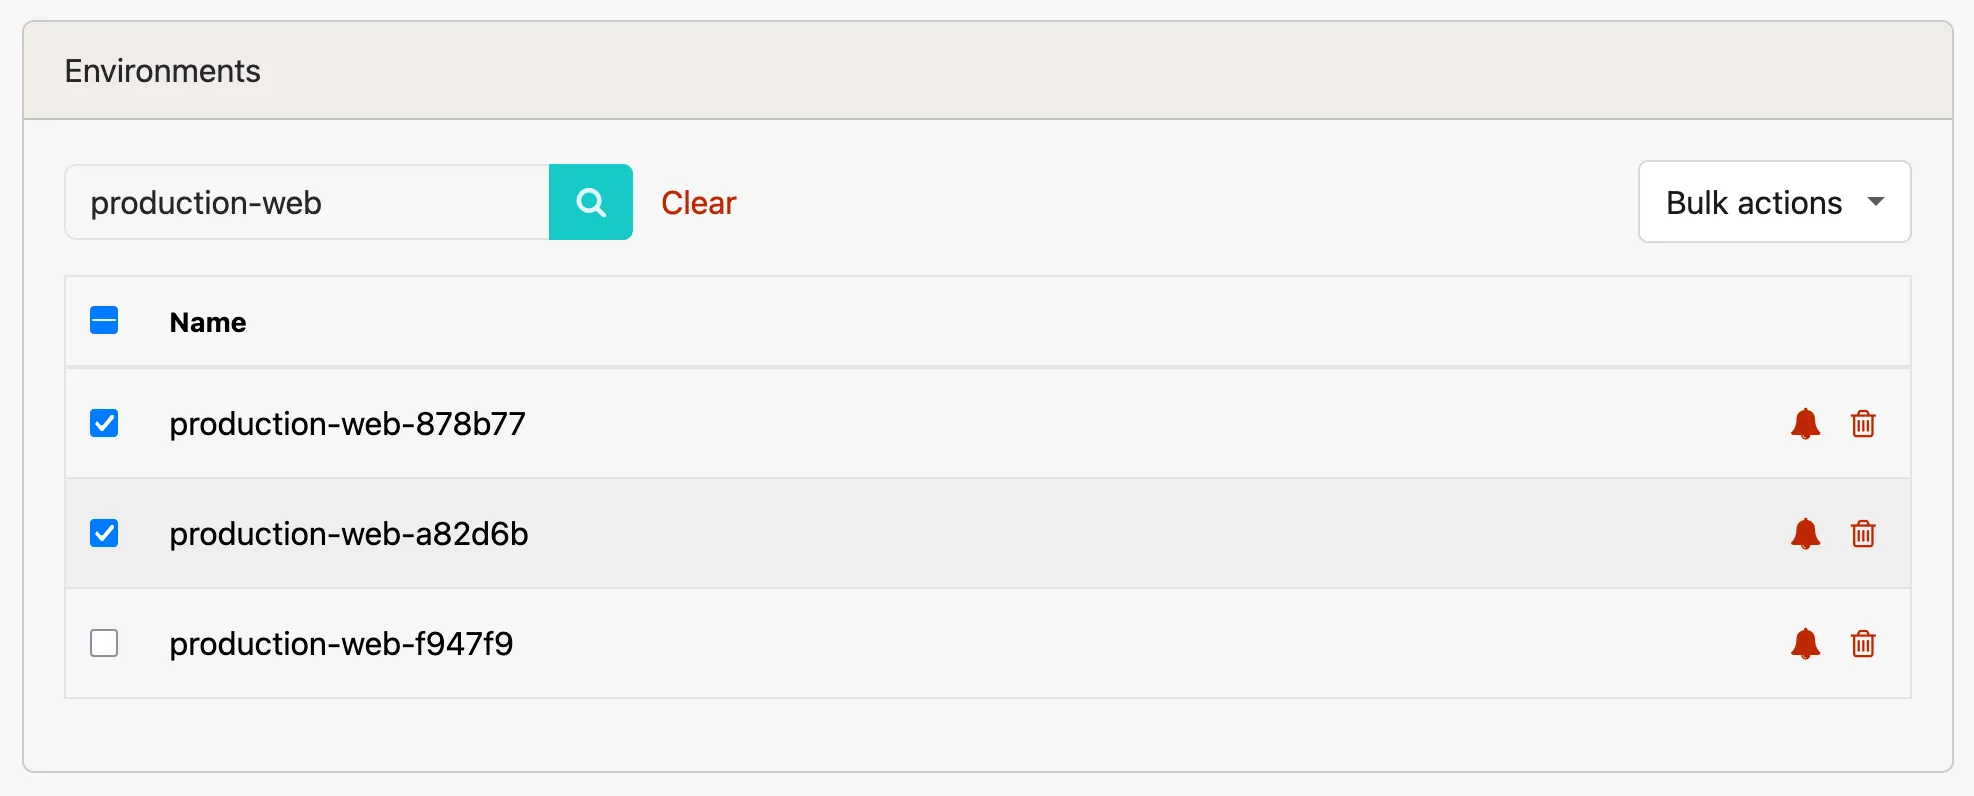
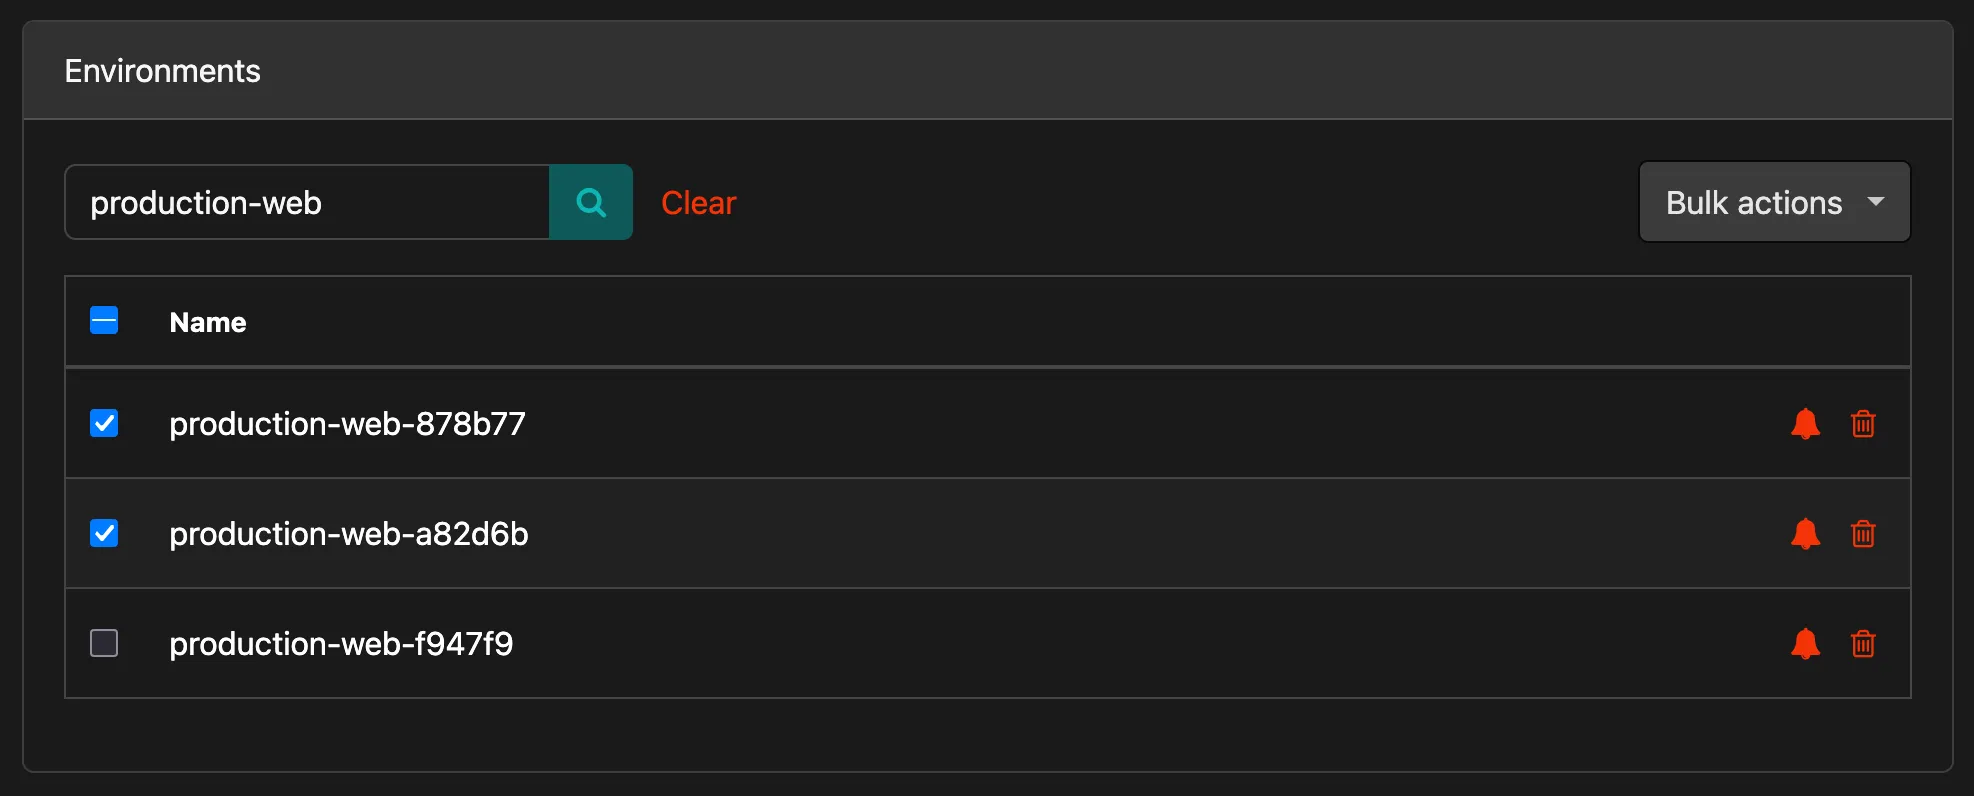
The Environments tab lists every environment that has reported errors to the project. Environments are added automatically as errors arrive from them, so you don’t need to create them ahead of time.
For each environment, you can:
- Toggle notifications with the bell icon. Turning notifications off for an
environment (such as
developmentorstaging) keeps its errors in your project without alerting your team. - Forget the environment with the trash icon. This removes the environment from the list. It will be re-added if the environment reports another error.
If you deploy to many environments (for example, one per pull request or per-customer instance), use the search box to filter the list by name. Long lists are paginated. Select one or more environments with the checkboxes, then use the Bulk actions dropdown to toggle notifications or forget all of the selected environments at once.
Environments can also be managed with the
Environments API or the
hb environments CLI command.
Alerts & integrations
Section titled “Alerts & integrations”The Alerts and Integrations tab allows you to edit the notifications you receive as a user for the project. If you have admin privileges for the project, you can also manage the integrations (such as GitHub, Slack, etc.) that are connected to the project.
To read more about managing integrations, check out the Integrations documentation page.
API keys
Section titled “API keys”Project API keys grant access to our reporting APIs. The list of reporting endpoints is in our API docs. If an API key is leaked or misused, you can rotate your key by adding a new key and removing the old one.
Project actions
Section titled “Project actions”Project Actions let you customize your errors as we receive them. Through actions, you can automatically:
- Assign errors to yourself or another team member
- Add tags
- Pause notifications
- Share errors publicly
One exciting usage example for Project Actions is assigning errors to specific code owners.
For example, Ben takes care of most of the billing code here at Honeybadger. It
would make sense that he should be assigned any errors related to billing. Here
is a simple setup to route StripeController errors to Ben:
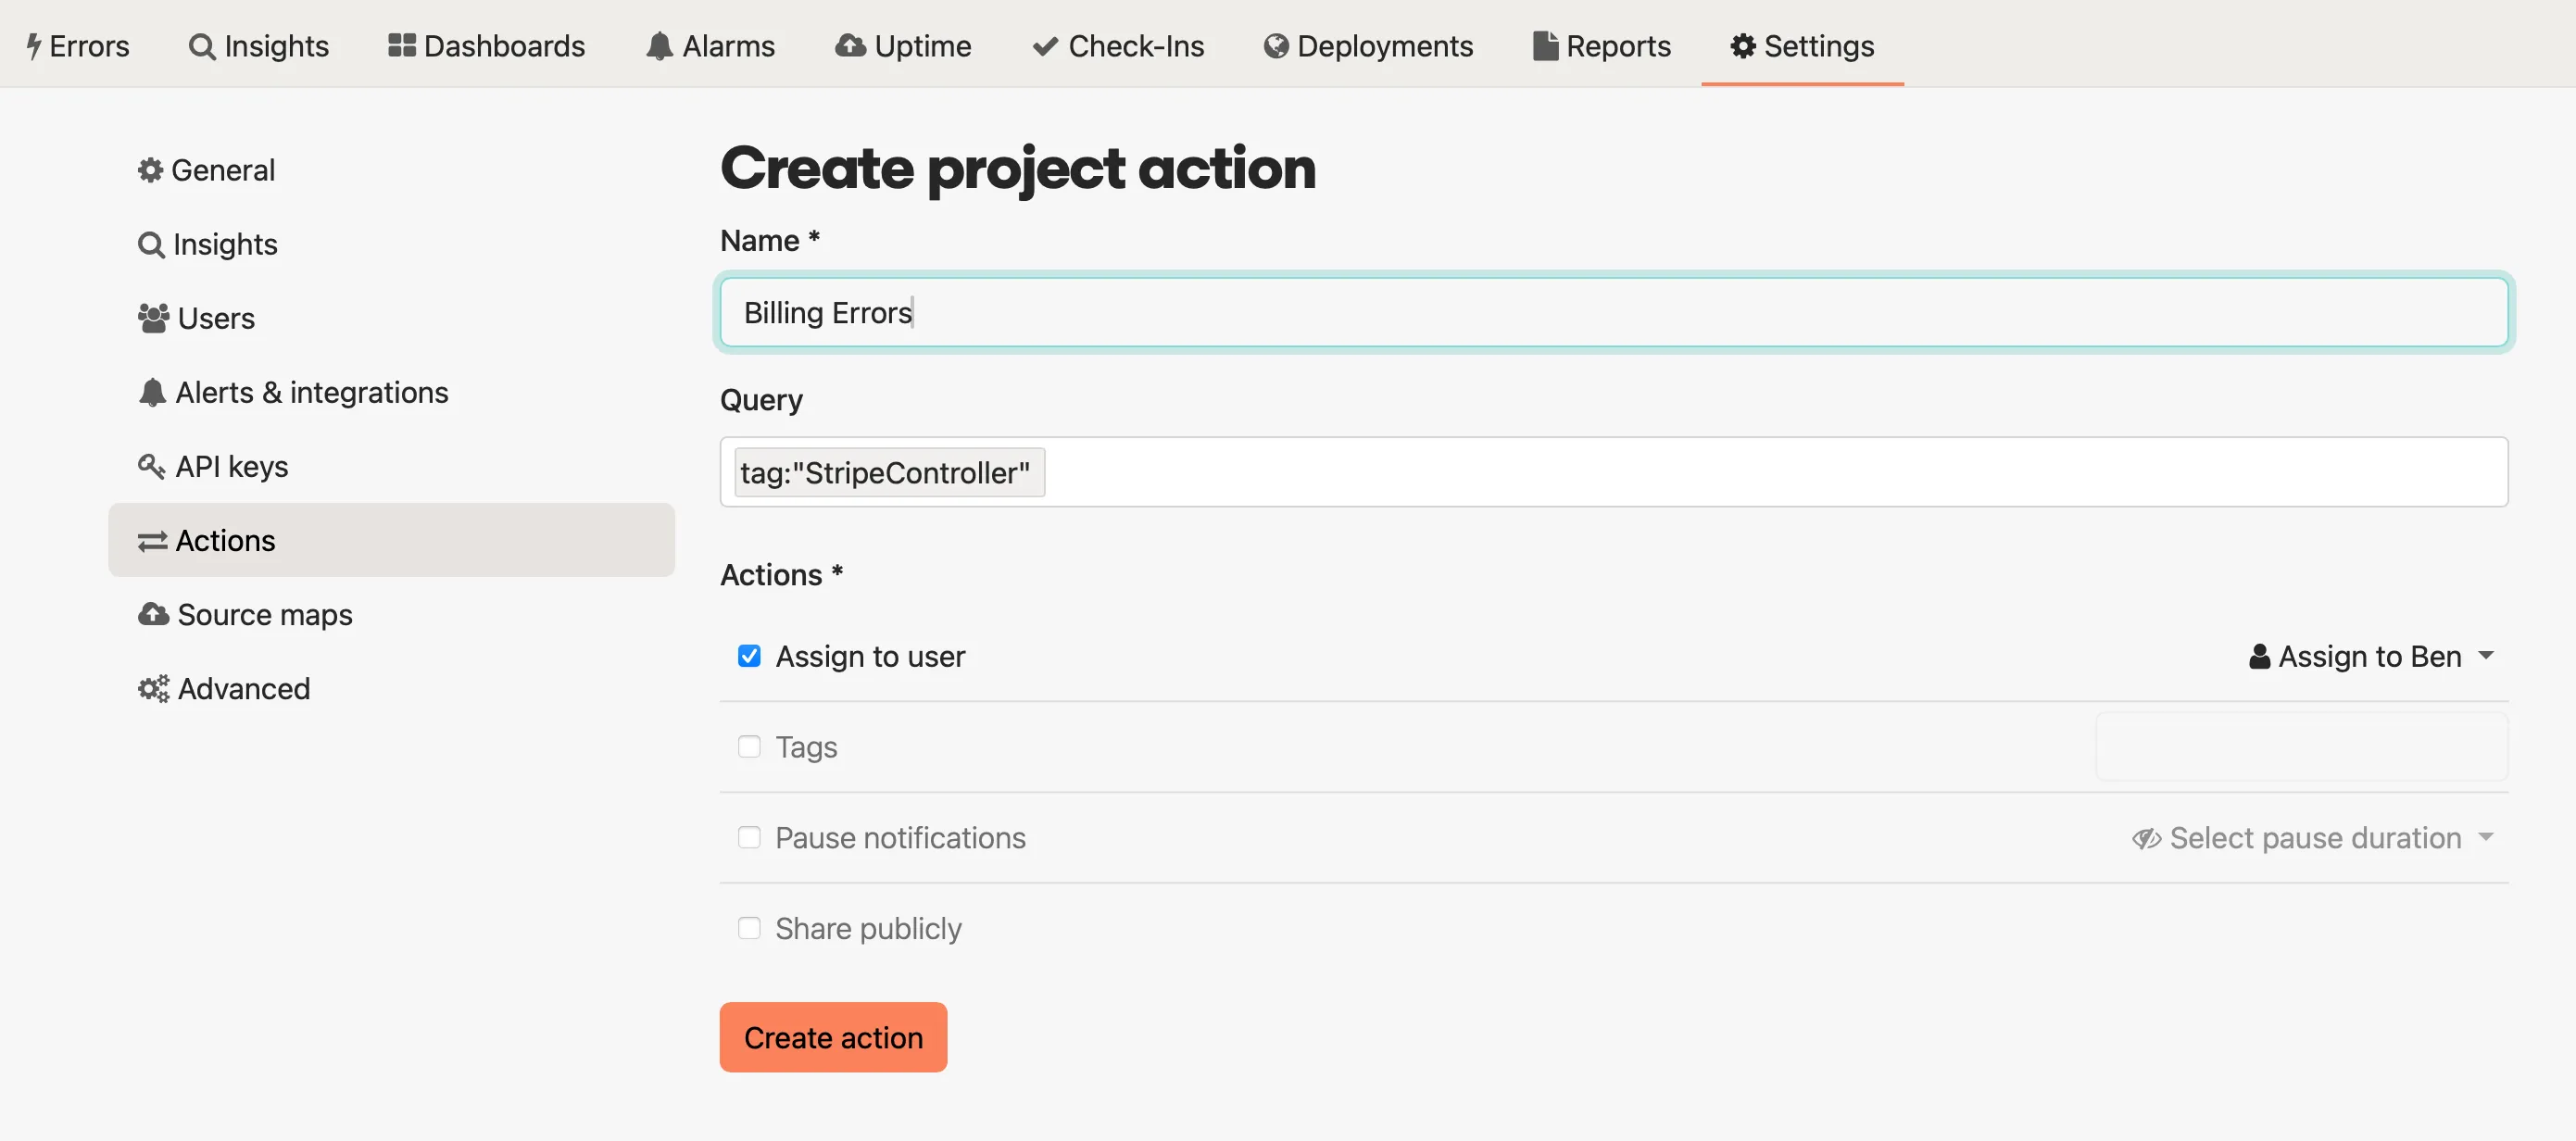
You can run all your incoming errors through the actions, or you can use the query box to constrain which errors have actions applied to them. The query box works identically to the search box when navigating on the error tab.
Source maps
Section titled “Source maps”Honeybadger can automatically un-minify your code if you provide a source map along with your minified JavaScript files. The tab for Source Maps in Project Settings allows you to choose whether or not to download your source maps. It also contains a list of the currently stored source maps and a debugging tool that you can use to diagnose problems with source map processing.
For more on source maps, check out the Source Maps documentation page.
One language per project
Section titled “One language per project”We often get asked if users can have multiple programming languages in a project. While it is technically possible, we recommend that you create a separate project for each application or repository.