
User management
Honeybadger is much more fun when you bring some friends to the party. The easiest way to do so is to assign projects to a team, then invite users to join your team.
What can users do?
Section titled “What can users do?”Our paid plans let you invite your co-workers to collaborate on your projects. The table below gives examples of what different kinds of users can do.
| Account Owner | Admin | Member | |
|---|---|---|---|
| Work with errors, uptime, check-ins, etc. | ✅ | ✅ | ✅ |
| Configure personal alerts, like email | ✅ | ✅ | ✅ |
| Configure chat, issue tracker and repository integrations | ✅ | ✅ | |
| Invite and manage users | ✅ | ✅ | |
| Assign projects to teams | ✅ | ✅ | |
| Manage account billing | ✅ | ✅ | |
| Transfer projects to another account | ✅ | ||
| Cancel subscription and delete account | ✅ |
Inviting users
Section titled “Inviting users”You have three options when inviting users. You can invite them…
- To a project: Inviting a user directly to your project is the easiest route, as long as you only have one or two projects.
- To a team, which has been assigned the project: This is the best route if you have more than a handful of users and projects.
- To an account: Users are automatically added to an account when added to a project or team, but adding users to an account is the way to go when you want those users to have the Owner role.
How to invite a project user
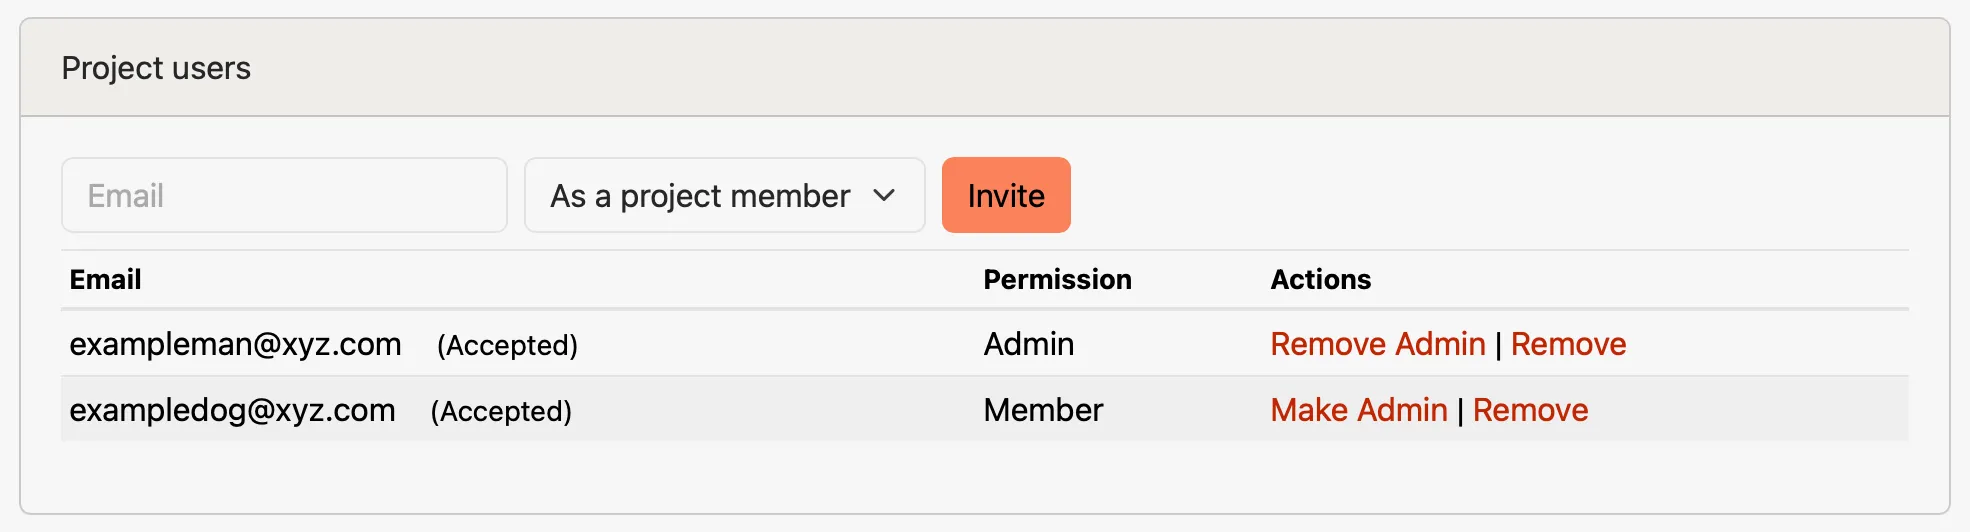
Section titled “How to invite a project user”To invite a project user, go to the “Settings” tab when viewing a project and click on “Users” in the sidebar. Use the form to enter their email address and choose their permissions for the project.
Your invitee will get an email with instructions on how to proceed.
How to invite a team user
Section titled “How to invite a team user”View the Users tab on the team detail page to invite a team user. You’ll see a form where you can enter their email address and choose their permissions for the team.

If you’re not sure which team is associated with a project, you can see the list of teams that are connected to a project on the Users tab of the Project Settings page.

How to invite an account user
Section titled “How to invite an account user”Go to the Users tab of the account settings page to add a new user to your account:
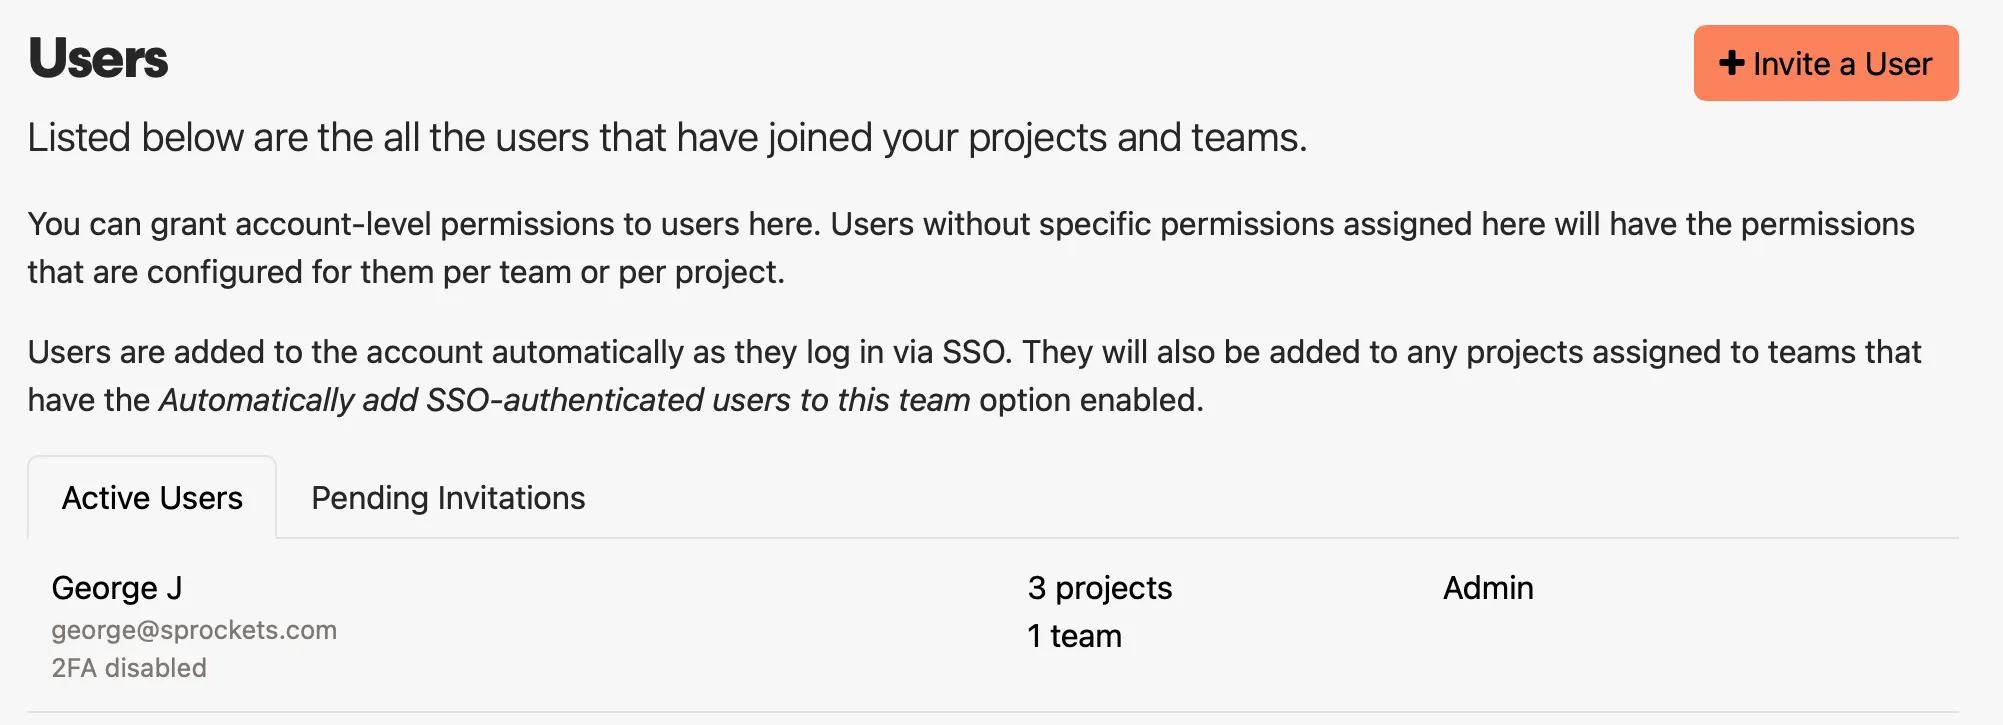
When adding a user, you can choose which role the user should have (Owner, Admin, or Member), and which teams that user will be able to access. As with project and team invitations, users will receive an email with a link to join the account.
SAML SSO
Section titled “SAML SSO”You can optionally provide single-sign on (SSO) to your team members via one of our supported SSO providers: Google Apps for Work, Okta, or OneLogin. Provider-specific configuration instructions are found on the Authentication tab in account settings. Generally speaking, the configuration process goes like this:
- Create a custom SAML app in your provider’s admin dashboard.
- Download the IdP metadata from your provider and add it to your Honeybadger SAML configuration.
- Configure the custom SAML app with the information provided on the SAML configuration page in the app.
After those steps are completed, your team members can log in through your SSO provider’s dashboard, or they can enter the SSO name provided in the SAML configuration when signing in to Honeybadger.
Role mapping
Section titled “Role mapping”You can assign account roles automatically based on a SAML assertion attribute,
such as a Google Workspace group. In the Role Mapping section of your SAML
configuration, enter the name of the attribute that carries group membership
(e.g., groups), then add rules that map attribute values to account roles.
On each SAML login, we compare the values of the configured attribute against your rules and apply the highest-privilege matching role (Owner over Admin over Member). A few things to keep in mind:
- Values are matched exactly (case-insensitive) — a rule’s value must equal what your identity provider sends. To help you write rules, the SAML configuration page displays the attribute names and values from the most recent sign-in.
- Users who match no rule keep their current role — removing a user from all mapped groups does not demote them.
- Role mapping will never demote the account’s only remaining Owner, and only account Owners can add or change rules that grant the Owner role.
Team mapping
Section titled “Team mapping”You can also manage team memberships and permissions from your identity provider. In the Team Mapping section of your SAML configuration (shown when your account has at least one team), add rules that assign an attribute value — a group, for example — to a team and a permission level (Member or Admin). Team mapping rules use the attribute name configured in the Role Mapping section, so be sure to set that first.
On each SAML login, the user’s SAML-managed team memberships are synced from their groups:
- When an attribute value matches a rule, the user is added to the mapped team with the mapped permission.
- When the user’s groups (or your rules) change, their team permission is updated in place — their per-project notification settings are preserved.
- When the user no longer has a group that maps to a team, they are removed from that team.
- If multiple rules match the same team with different permissions, Admin wins over Member.
Team mapping only manages memberships that it created. Memberships created by a manual invitation or by the Team Access option (which automatically adds all SSO users to the selected teams) are never modified or removed by team mapping. If a user already belongs to a team via one of those, a team-mapping rule won’t change their permission. When a team has both a mapping rule and Team Access enabled, a user who loses their mapped group stays on the team as a regular Team Access member instead of being removed.
Restricted authentication
Section titled “Restricted authentication”We provide more control over your users’ login sources when enabling “Restricted Authentication” for your account. You can manage restricted authentication from the Authentication tab in account settings. A common use case is to require users to use SSO instead of being able to log in with a password.
Auth sources
Section titled “Auth sources”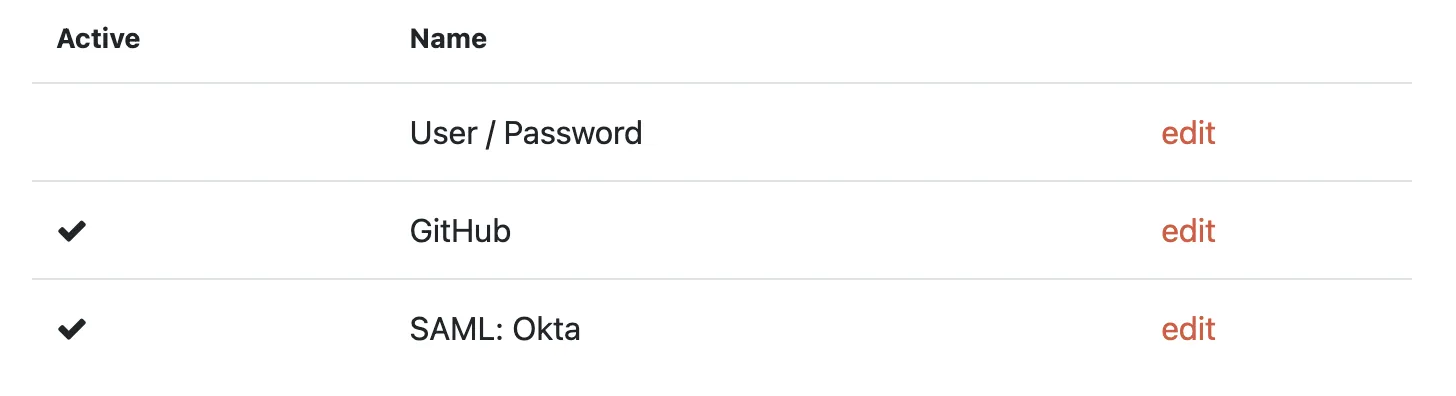
You can select which authentication sources are allowed to access your account.
If you require only SAML login, you can disable all other available sources. When a user accesses your account via password, we will redirect them to your custom sign-in page with a link to your SAML provider.
Session duration
Section titled “Session duration”You also have control of your users’ session duration, per auth source. For example, daily reauthentication with your SAML provider can be achieved by updating the “Session expire duration” for your SAML auth source.
Custom sign-in page
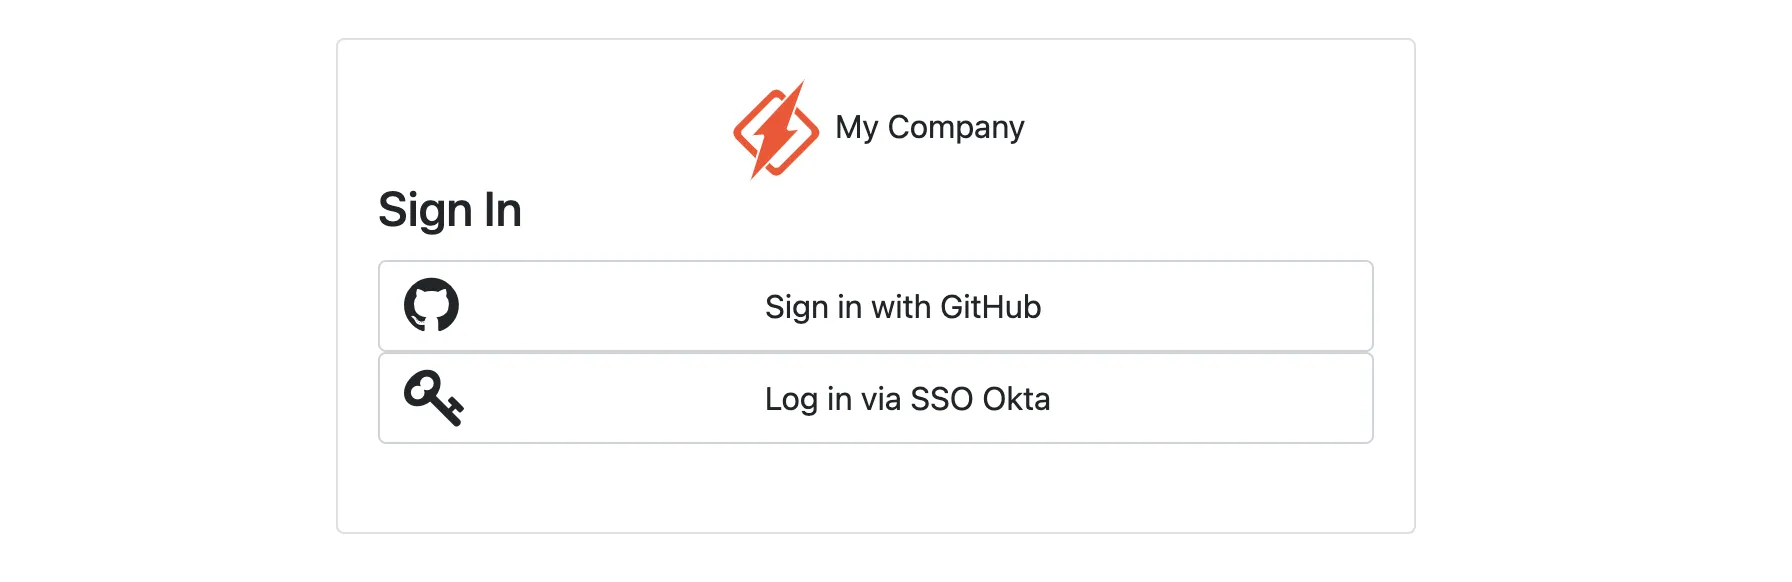
Section titled “Custom sign-in page”Restricted auth accounts have access to a custom sign-in page. We will only show your active auth sources as sign-in options.
Multi-factor authentication
Section titled “Multi-factor authentication”Honeybadger supports multi-factor authentication (also known as two-factor authentication, 2FA, or MFA) via Google Authenticator, Authy, and similar 2FA providers. Account owners can require multi-factor authentication for all users from the Authentication tab in account settings.

When enabled, we’ll notify the users who need to set it up via email, and prompt them to enable it on their next login.