
Honeybadger MCP server
The Honeybadger MCP server provides structured access to Honeybadger’s API through the Model Context Protocol, allowing AI assistants to interact with your Honeybadger projects and monitoring data.
The Model Context Protocol (MCP) is a standard that enables LLMs to interact with external services. Instead of manually copying error details or switching between tools, your AI assistant can fetch Honeybadger data, analyze patterns, and help investigate production issues within your existing workflow.
What can you do with the MCP server?
Section titled “What can you do with the MCP server?”Once connected, your AI assistant gains the following capabilities:
- Project management: List, create, update, and delete projects, and get detailed project reports.
- Error investigation: Search and filter errors, view occurrences and stack traces, see affected users, and analyze error patterns.
- Insights: Run BadgerQL queries against your event data.
- Dashboards: List, create, update, and delete Insights dashboards.
- Alarms: List, create, update, and delete Insights alarms, and review alarm history.
We’re actively developing additional tools for account and team management, uptime monitoring, and other platform features.
For a live list of the hosted server’s tools, visit mcp.honeybadger.io. Tool parameters are documented in the GitHub README.
Connect to the hosted server
Section titled “Connect to the hosted server”Add the endpoint to your client. The first time it connects, complete the authorization flow in your browser. You don’t need to run the server locally or manually manage API tokens.
https://mcp.honeybadger.io/mcpClaude Code
Section titled “Claude Code”Run this command to configure Claude Code:
claude mcp add --transport http honeybadger "https://mcp.honeybadger.io/mcp"Cursor, Windsurf, and Claude Desktop
Section titled “Cursor, Windsurf, and Claude Desktop”Put this config in ~/.cursor/mcp.json for
Cursor, or
~/.codeium/windsurf/mcp_config.json for
Windsurf. See Anthropic’s
MCP quickstart guide for how
to locate your claude_desktop_config.json for Claude Desktop:
{ "mcpServers": { "honeybadger": { "url": "https://mcp.honeybadger.io/mcp" } }}VS Code
Section titled “VS Code”Run this command:
code --add-mcp '{"name":"honeybadger","type":"http","url":"https://mcp.honeybadger.io/mcp"}'See Use MCP servers in VS Code for more info.
Authorize and manage access
Section titled “Authorize and manage access”The first time your client connects, you’ll be prompted to authorize the connection in your browser. You choose which account to grant access to and whether the connection can read and write or only read. The resulting access is always a subset of your own: the connection can never see or change anything you can’t.
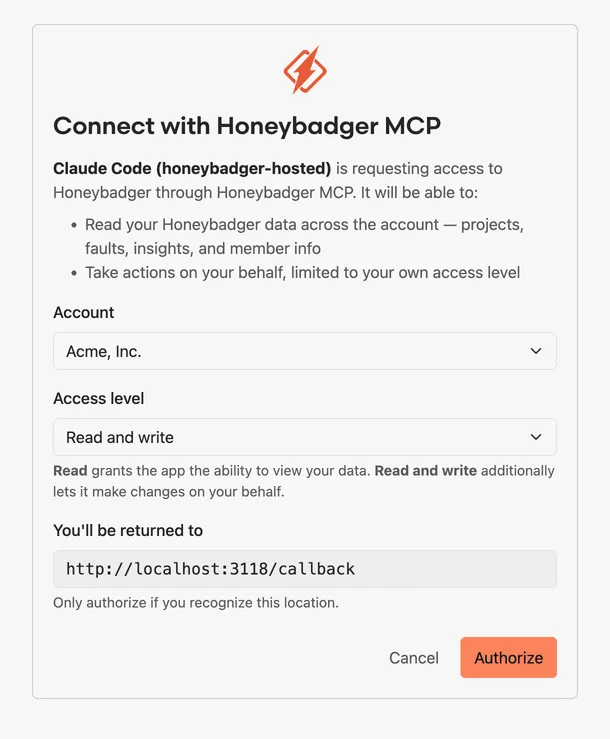
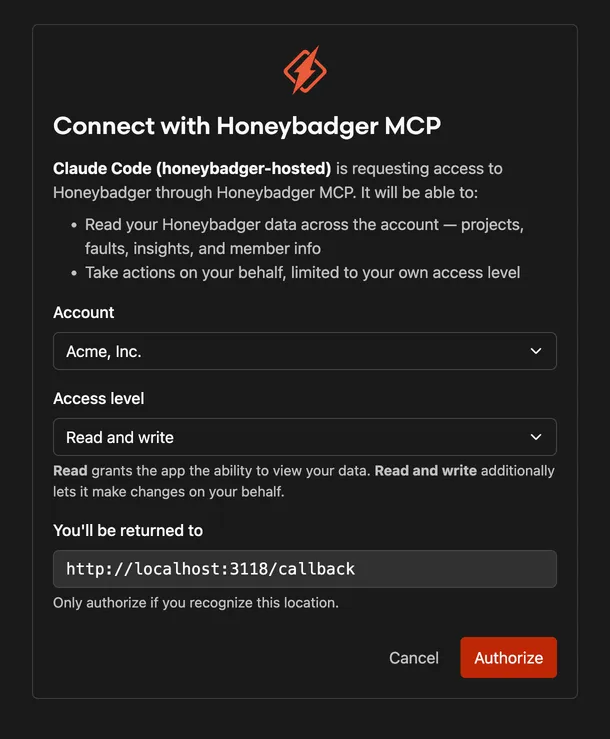
The access level you choose determines which tools your agent can use. With
read-only access, write tools such as create_project, update_project, and
delete_project are filtered out of the tool list entirely.
Connections use short-lived tokens that refresh automatically in the background, so you only authorize each client once. If a client repeatedly asks you to re-authorize, it doesn’t support refresh tokens; use a client that does, or check for an update.
To revoke a connection later, visit API Access in your user settings. Account admins can also revoke any member’s connections from the account’s API Access page. Revocation takes effect immediately.
Try these workflows
Section titled “Try these workflows”Here are some things you might ask your AI assistant to help with. Always review its work closely; LLMs can make mistakes.
Investigate an error
Section titled “Investigate an error”Fix this error: [link to error]
Your assistant can look up the project and error details, open the source file from the stack trace, and fix the bug. You could also ask it to explain the error or help troubleshoot it.
Review your projects
Section titled “Review your projects”What’s happening with my Honeybadger projects?
Your assistant can list your projects, show recent error activity, and filter faults by time and environment to provide a quick overview or help you triage.
Create an Insights chart
Section titled “Create an Insights chart”Create an interactive chart that shows error occurrences for my “[project name]” Honeybadger project over time.
Your assistant can fetch time-series data from your project and generate an interactive chart showing error trends.
Running your own server
Section titled “Running your own server”You can also run the server yourself with Docker instead of using the hosted endpoint. Self-hosted servers authenticate with your personal auth token, found under the “Authentication” tab in your Honeybadger user settings:
{ "mcpServers": { "honeybadger": { "command": "docker", "args": [ "run", "-i", "--rm", "-e", "HONEYBADGER_PERSONAL_AUTH_TOKEN", "ghcr.io/honeybadger-io/honeybadger-mcp-server" ], "env": { "HONEYBADGER_PERSONAL_AUTH_TOKEN": "your personal auth token" } } }}Client-specific setup, configuration options, and how to build from source are covered in the GitHub README.
Configure access
Section titled “Configure access”Self-hosted servers default to read-only access. Set
HONEYBADGER_READ_ONLY=false to expose write tools. Use caution, as this
allows destructive operations such as deleting projects.
Connect a self-hosted server to the EU region
Section titled “Connect a self-hosted server to the EU region”Set HONEYBADGER_API_URL to
https://eu-app.honeybadger.io in the config’s env block (for Docker, also
add a matching -e HONEYBADGER_API_URL entry to the args list so Docker
passes it through) and use a personal auth token from your
EU user settings. A
US token won’t authenticate against the EU region, and vice versa.
If you work across both regions, add both servers with distinct names (for
example honeybadger-us and honeybadger-eu).
How the server instructs your agent
Section titled “How the server instructs your agent”The MCP server makes the same
Honeybadger instructions linked from
llms.txt available to your agent automatically, including references for
BadgerQL, Insights queries, charts, dashboards, alarms, and error search. You
don’t need to copy these instructions into your prompt or tell your agent to
fetch them.
Your agent fetches the instructions it needs through the server’s
get_reference tool, typically once per session. You may notice this as a
quick reference lookup before the first query or dashboard call.
In long sessions, an agent may compact or summarize its history to stay within its context window, which can drop previously fetched instructions. When that happens, the agent may fetch them again, so a repeated reference lookup mid-session is normal.